What Are the Best Settings for Street Photography? 5 Golden Settings
Best Settings for Street Photography
So, what are the best settings for street photography? Honestly… Who Knows. But Also, I Do.

OK, last week, we covered 25 Battle-Tested Street Photography Tips for Beginners. But we didn’t talk about camera settings. So here we are.
Look, if you think there is a one size fit’s all, golden camera settings type formula, then I have bad news for you. It doesn’t really work like that. But then again, it kinda does.
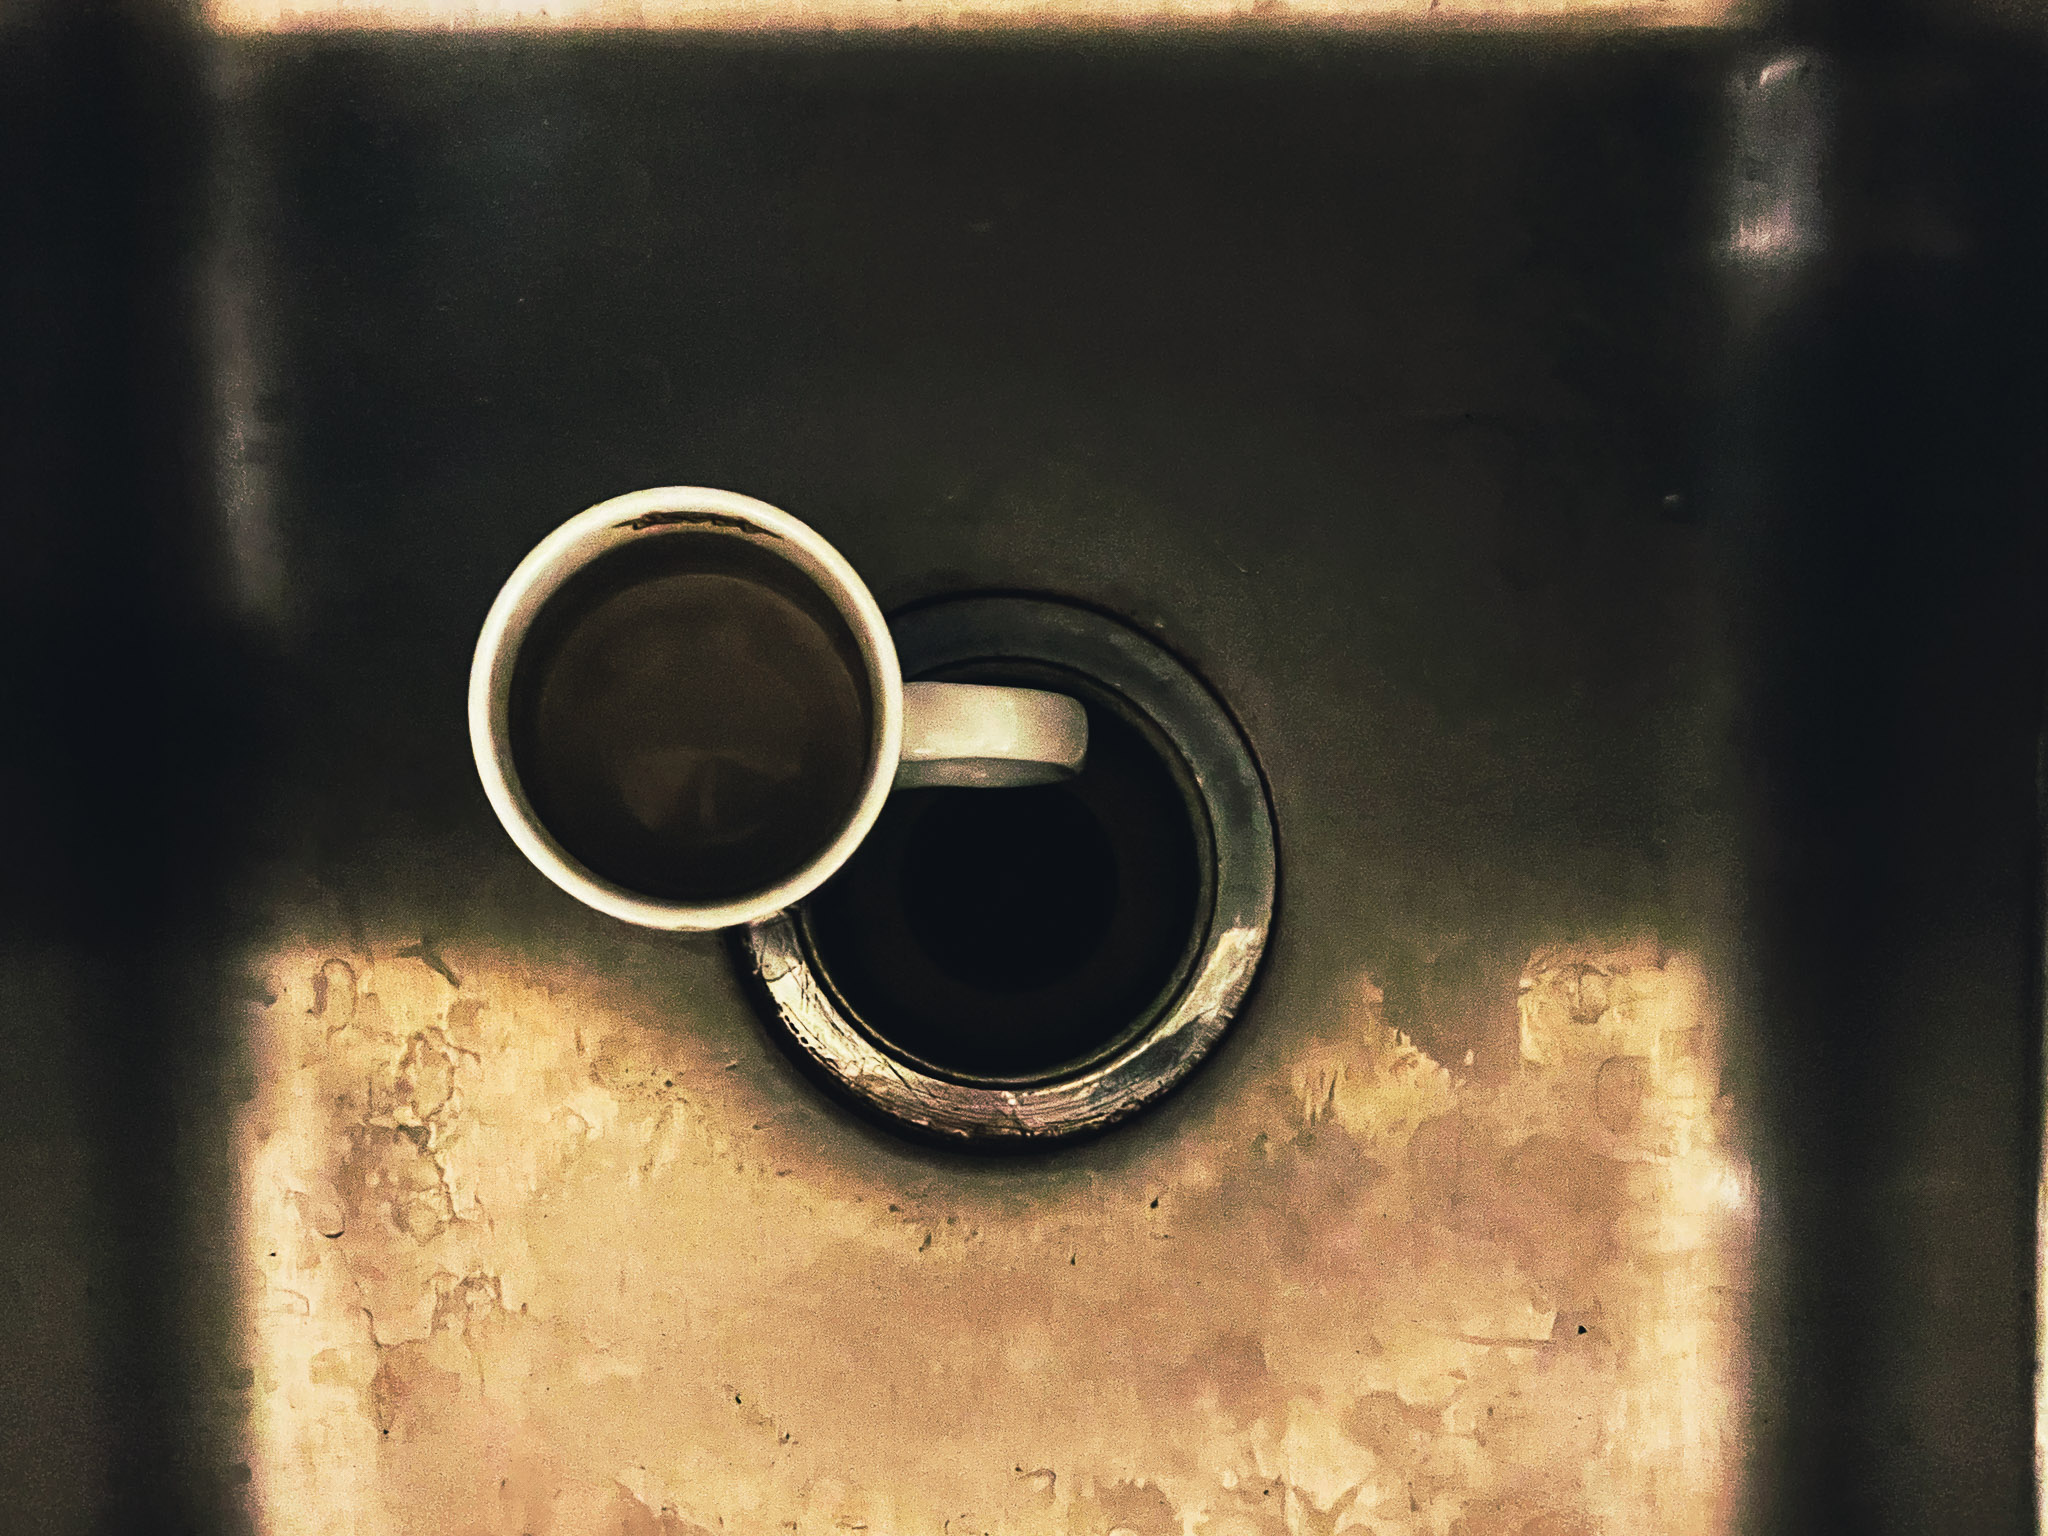
Yeah, I’m already contradicting myself. You’ve been here before, right? Listening to me ramble on and on. Welcome to the inside of my brain, especially when I have had too much coffee. Pull up a chair.
So street photography is weird. You’re the boss of nothing except maybe your camera settings.
The guy with the umbrella, walking past the “It’s Always Sunny in Florida” sign, isn’t going to stop and wait while you figure out your ISO.
The girls not going to stop and go back to where you want her.
And the man is probably angry and doesn’t like his picture taken.
Look, you’re out here with the chaos, and that guy definitely noticed you taking his photo even though you were trying to be all “candid”.
Spoiler Alert: He saw you. He always sees you.
And now, he’s asking if you’re with the government. Good luck explaining ICM to him.
OK, back up, I’m definitely making this personal and these are some of the questions I’ve fielded.
But yeah, settings. The golden settings. That’s why you are here. So, let’s say there were some basic good settings. Let’s talk about those.


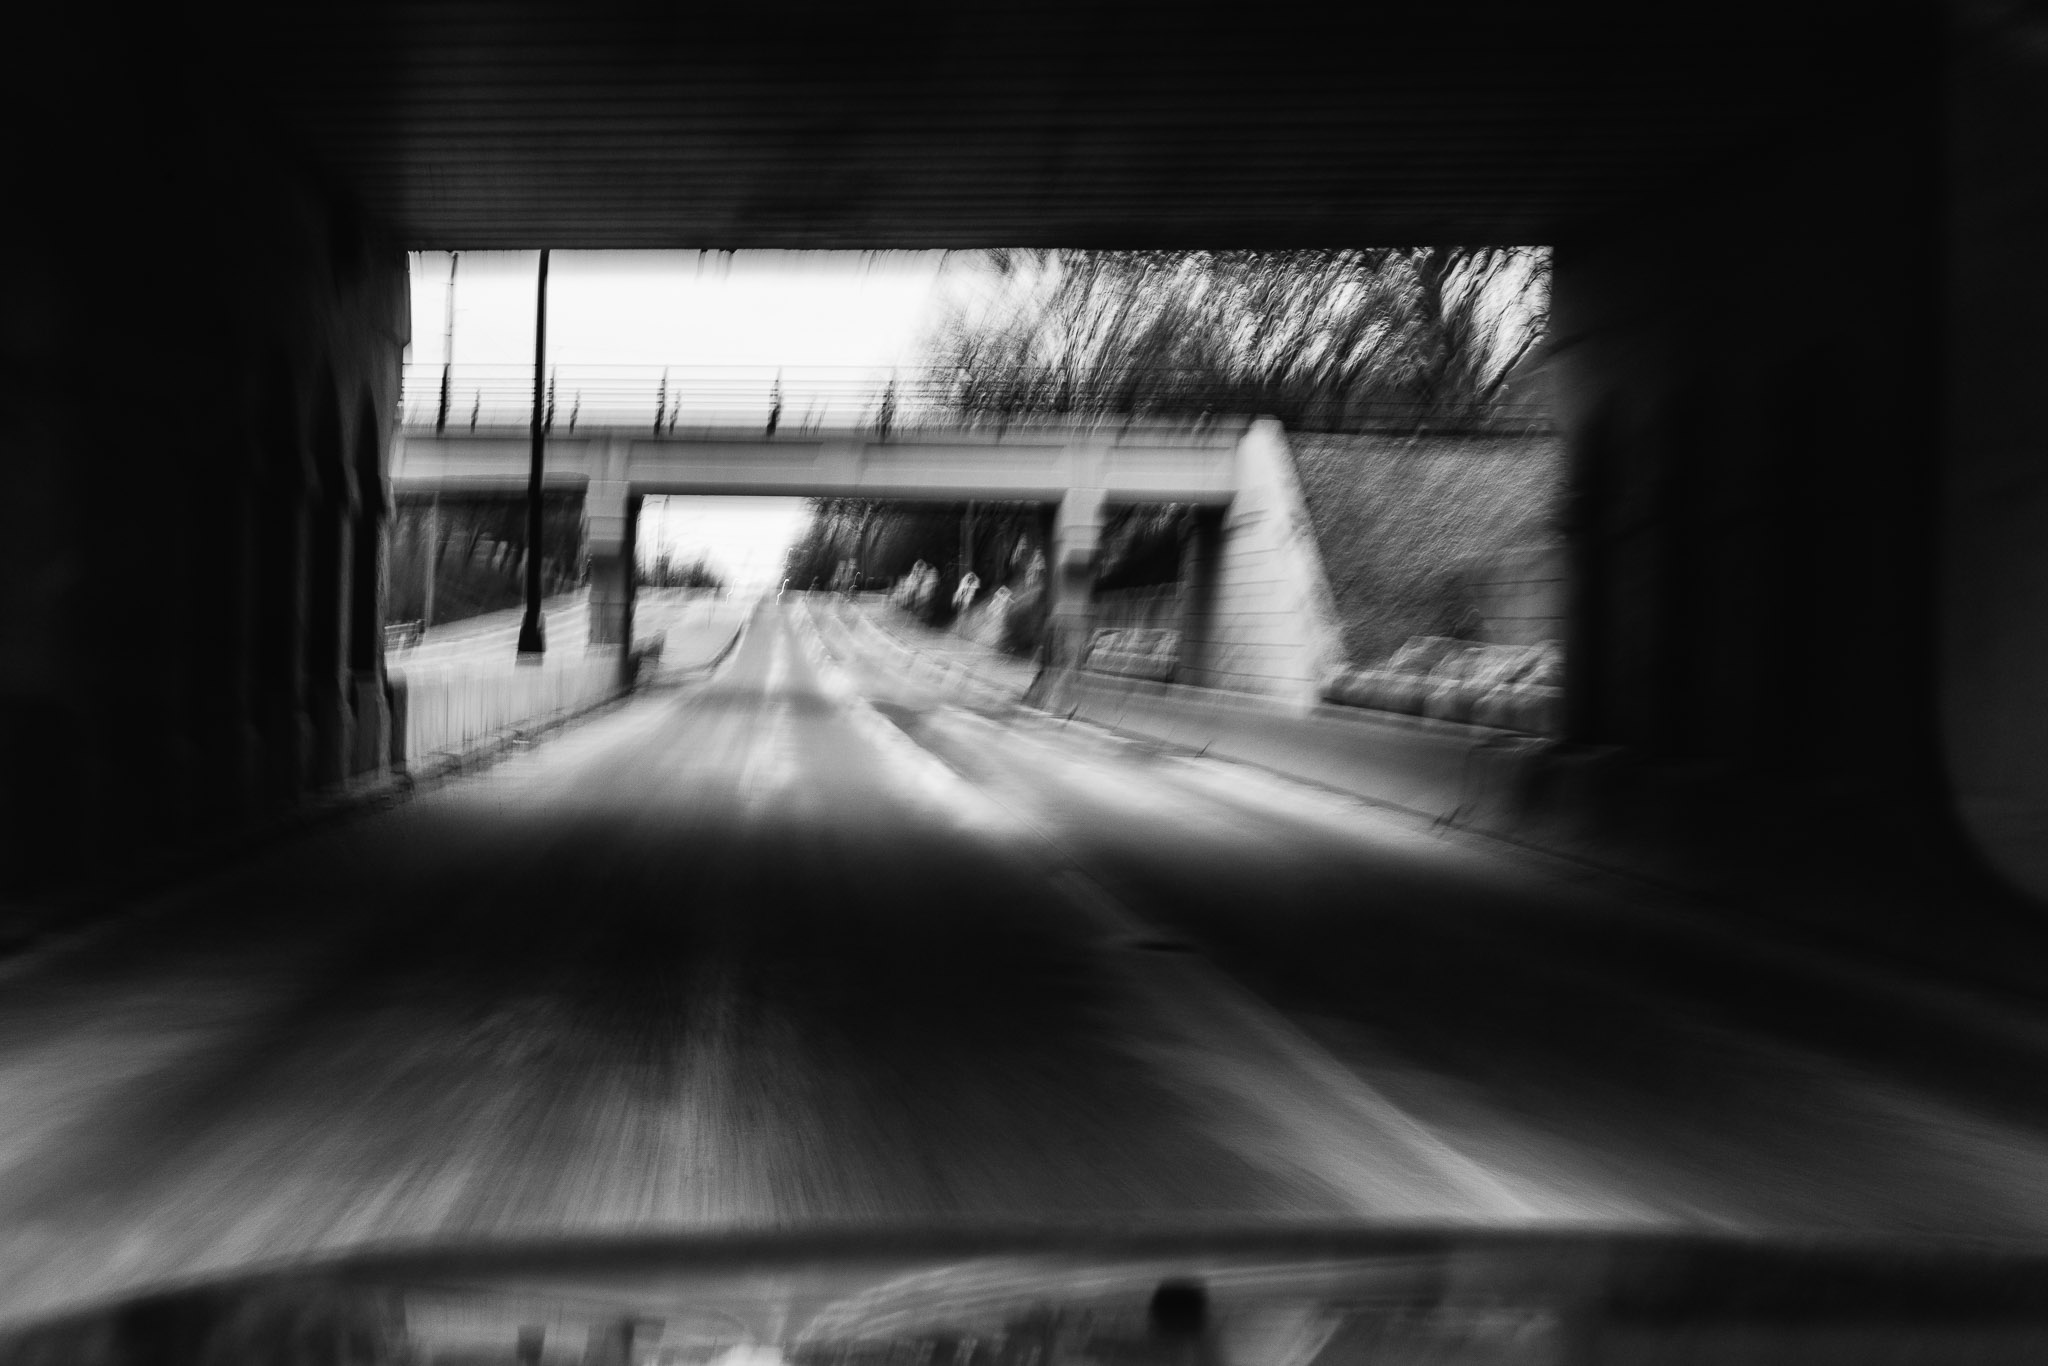
1. Shutter Speed: Fast Enough to Freeze Life, But Not Too Fast to Kill the Vibe
So, 1/200 is my safety net. I don’t know what I’m going to be shooting. I usually try to go there and then dial in the rest.
It’s fast enough to freeze movement (unless that guy who didn’t want his photo taken is really mad and animated), but not so fast that I lose the blur I sometimes want.
Yes, you heard that right. Look, blur is not the enemy. Blur reminds us that “time happened here.” Life is blurry, and sometimes, a little motion blur tells a better story than a perfectly sharp image. Try 1/160 or even lower. Let’s let blur be a character in this story.
Or not. Sometimes, freezing the moment is imperative to the story you are trying to create. In that case, you’re looking at something like 1/500 or higher.
2. Aperture: f/8 and Be There. Or f/2 and Make It Weird.
A lot of street photographers swear by f/8. It’s got that “just be there, everything is in focus so I don’t have to think about it” energy. I like that, especially on the street where things happen fast.
f/8 offers me a little room for error. Not only that, street photography is often as much about the environment as it is the subject. Sometimes, if you’re lucky, multiple layers or elements within the scene are interesting. You want to capture that.
But wide open? Oh man. f/2. f/1.4. It’s a little less documentary and a little more about conveying emotions. In this sense, you’re isolating and establishing an intimacy with the subject’s mood.
But, shallow DOF can be a tricky way to shoot if your subject is moving, and even harder if you’re moving. Plus, everything is happening in the blink of an eye. There’s no, “let’s try that again”.
You either got the shot, or you have a nice shot of the subject’s shoulder.
Either way, I commend you for doing it your way because that is the real golden setting. Anyone telling you there is only one way to do something is full of themselves.
What if Saul Leiter had ignored his instincts and played it safe?
Imagine he stuck to black and white photography just because everyone around him said that’s what “serious” photographers do?
Instead, today, he is known as an early pioneer of color street photography.
So yeah, f/8 and be there, or f/2 and make it weird. It doesn’t matter as long as it speaks to you. That’s the only setting worth chasing.
3. ISO: As Low As You Can Go, As High As You Need
Street Photography isn’t about perfection.
Sometimes the light sucks but you’re out there anyway.
Sometimes, the only thing lighting your shot is a neon sign from a vape shop and your own stubborn determination.
Push that ISO. You can always reduce noise in post if you want.
Grain is not failure, it’s texture, emotion, and grit.
That said, if you can keep it at 400 or under in daylight, do it. If it creeps to 3200 or higher, embrace the noise.
Just tell yourself it adds character.
You’ll be fine.
This Blog Runs on Coffee, Photos, and Your Support
I mint select images as NFTs and list the gear I use. Collecting or shopping through my links is like buying the blog a coffee. ☕ 🧡
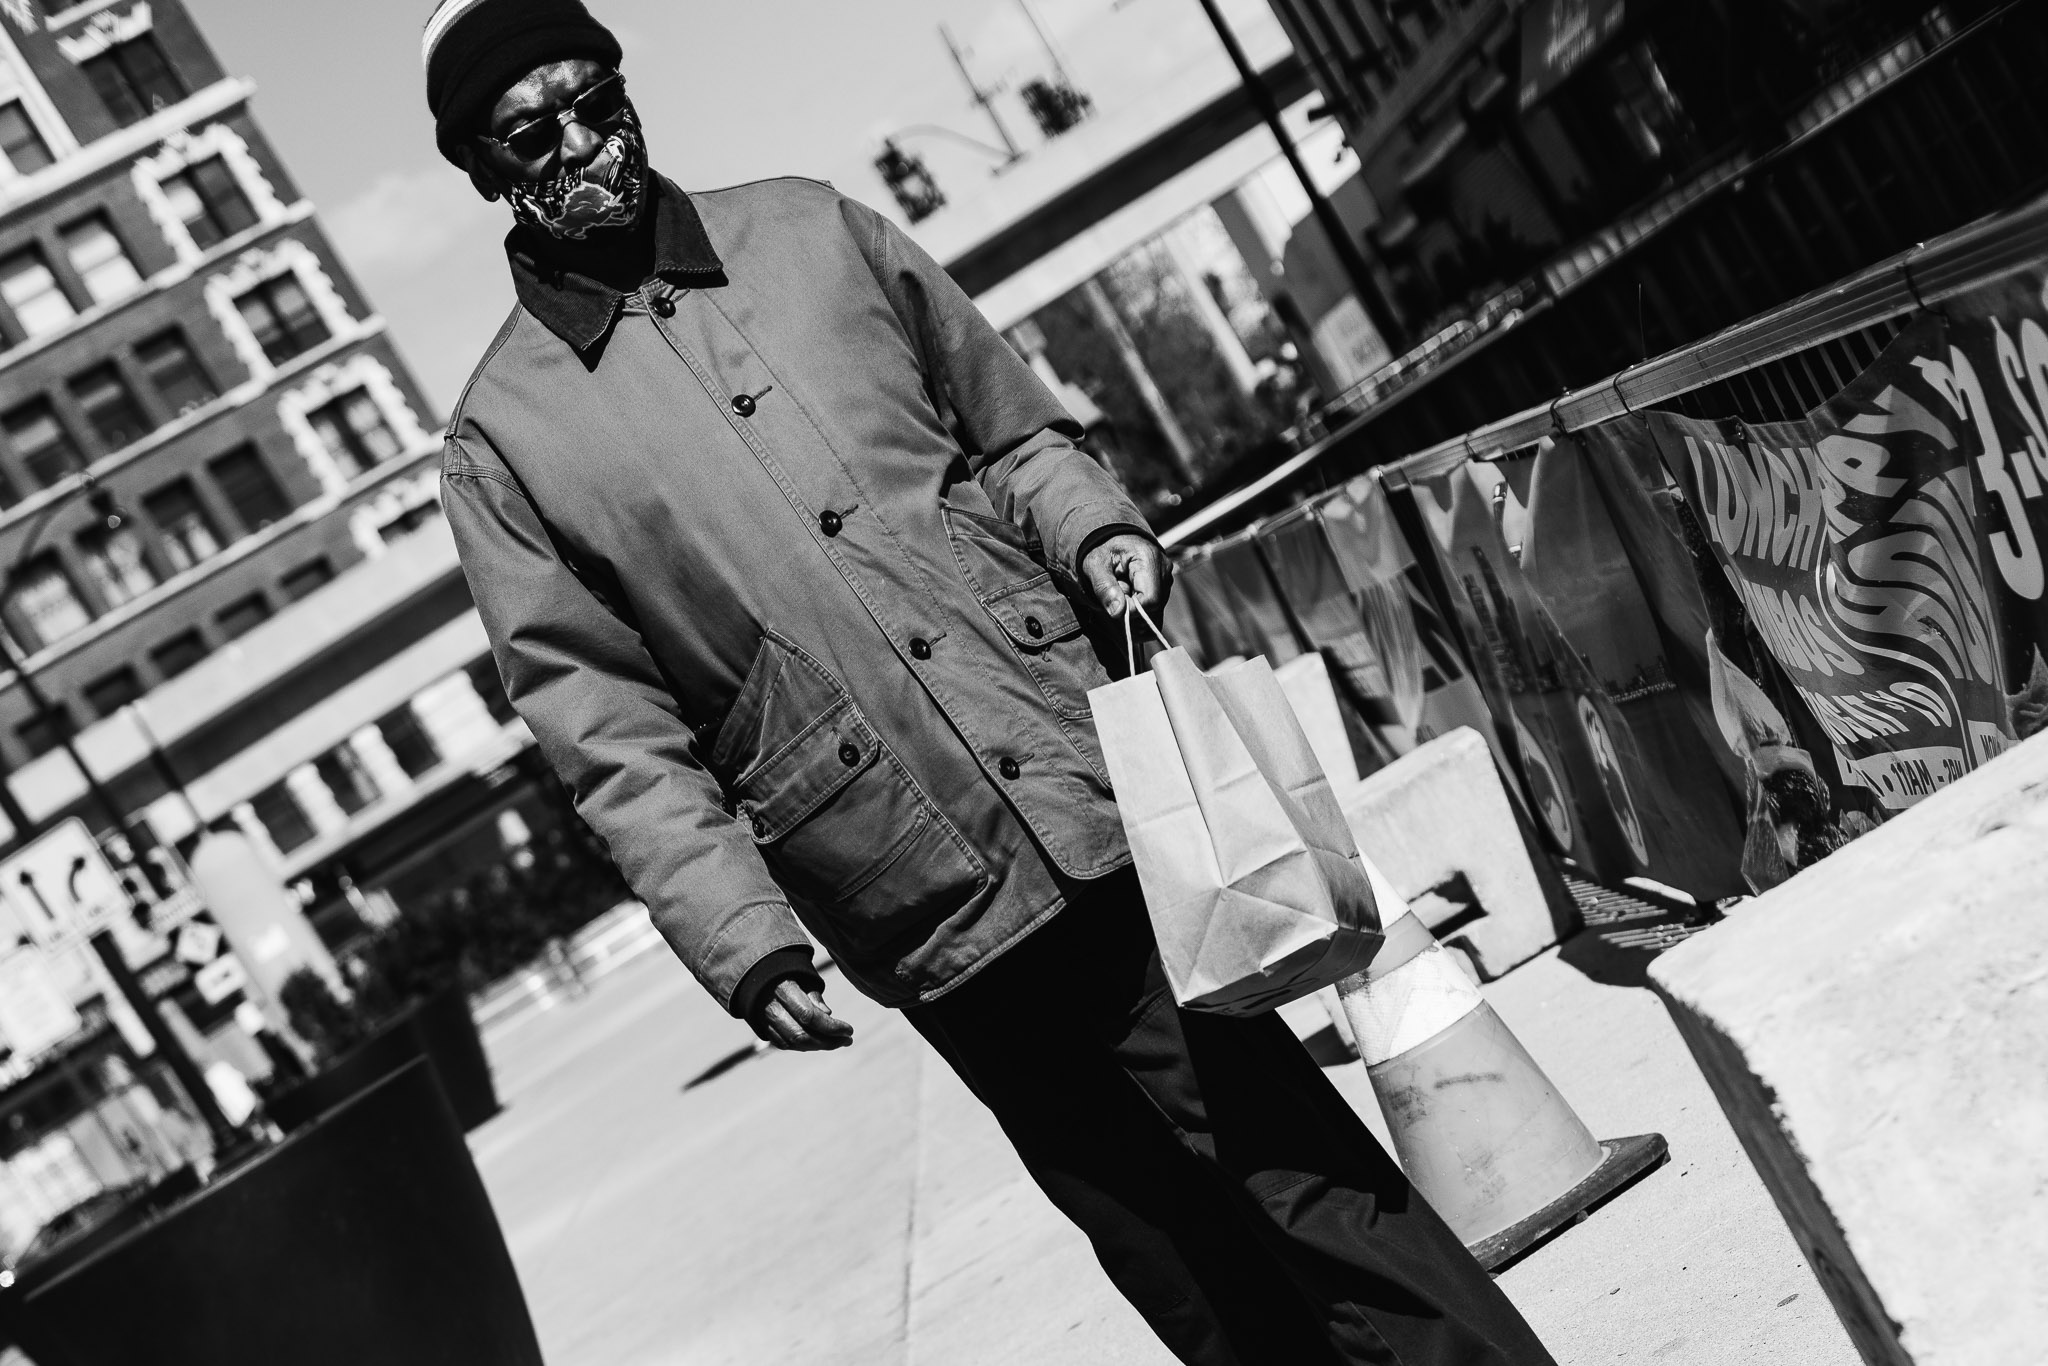
4. Focus Mode: Manual If You Hate Yourself. Auto If You Like Photos.
I respect manual focus purists so much. You’re the people who still hand-grind their coffee every morning with a cast iron burr mill (Amazon affiliate link), but of the photography world.
We love you!
But out here, in the city, with cars zooming, people screaming at each other, and your subject about to duck for cover, you have to be fast.
What’s fast?
Back Button Continuous autofocus with face/eye detection.
OK, OK, I hear you. What if you don’t have a Canon R5 (Amazon affiliate link) or a camera body with all this new-age sorcery?
If you’ve got an older body or just a simpler system, try single-point autofocus. You can move the focus point around (if you’ve got time and joystick skills), or just use the center point, focus, and recompose.
I lived on focus-and-recompose for years with my Canon 60D. It works.
Just one thing: if you’re using continuous autofocus, the camera will keep trying to refocus the whole time you’re reframing, which means your locked focus becomes not-so-locked. To avoid that, either switch to One Shot, or let go of the back button after you’ve locked focus but before you move the frame. That freezes the focus where you want it.
OK, OK, I hear you. Someone in the back is yelling Zone Focus. And yes, if you’re feeling old school and want to pretend you’re in a 1960s photojournalism documentary, try Zone Focus.
I’m just kidding! All these methods work. Pick one that lets you think less about focusing and more about shooting.
5. Shooting Mode: Raw. Always Raw. Unless You’re Wild.
JPEG shooters, I love you, you little rebels. But if you’re asking me what I do? Raw all day. It gives you wiggle room. Breathing space. The freedom to fix your mistakes later when you realize your white balance was set to “cursed fluorescent office space” the whole time.
Am I the only one who made that mistake?
Look, I get it, you’re hardcore. Sometimes, constraints make you sharper. If you like the commitment of JPEG, go for it. Just own it. No shame.
No, I didn’t say that. Seriously, switch to RAW right now. You’re a serious photographer. Stop F#@ing around!
Bonus: What Shooting Mode Should You Use?
My default is Manual mode for almost everything.
But, when on the street, I find myself more and more using Aperture Priority. It’s just faster. I pick the aperture, and the camera picks the shutter speed. If I want a bit more control, I’ll use exposure compensation to nudge the exposure a little darker (usually).
Manual mode is for when you’re feeling in full control of your life (who are you?). But unless you’re in consistent lighting or doing something specific, it’s easy to miss a moment while fiddling with settings.
Shutter Priority? Eh. You could, but if you care more about depth of field (and you probably do in street), Aperture Priority gives you better results most of the time.
Program Mode? Honestly, I don’t even know what this mode does. I think it’s auto, but you still have control over ISO. I don’t use this mode.
Full Auto? You know what. I’m not even mad. If it gets you out there shooting, go for it. But one day, your future self will thank you for learning to do more.
Final Thoughts? None. Just Go Shoot.
Honestly, the best setting is the one that lets you get the shot. If you’re so wrapped up in settings, you miss the moments in between moments. You miss the good stuff, and that’s the real tragedy.
Set your camera up so it’s ready to go. Adjust when needed. Trust your gut. And when in doubt? Take the shot. Even if it’s slightly blurry. Even if your ISO is screaming. Even if you’re not sure it’s “good.”
The street doesn’t care about perfection. It cares that you showed up.
Want to talk photography or roast my life choices? That’s a coffee pun. You know where to find me. Or don’t. Go shoot. Come back sweaty and a little uncertain about everything except the fact that you love this chaotic little ritual. That’s enough.
Catch you on the street.
💬 What Did This Post Make You See?
Leave a comment and share what this post made you think, feel, or notice.
👀 NFT Friends
Feel free to drop your public wallet address with your comment… because who knows right…
🖼️ Before Language, After Light
Default Gallery: Featuring recent photography and artwork from creators I’ve collected on Tezos. Updated regularly to reflect the spirit of each post. → View Full Curation on OBJKT
🟢 Currently Open for Submissions
Have a Tezos NFT that fits this post’s theme? Share a link with your comment (link-only posts will get flagged as spam). I may collect or feature it here or in a future post.
Support independent creators. Discover and collect below.

About the author : Michael Falk

Hi, I'm Michael. I feel like I'm supposed to mention an award here. Maybe, some kind of grand accomplishment. None yet, but I'm working hard on finding the right combination of words or arrangement of pixels that will make me famous. In the meantime, let's practice photography, drink coffee, and grow together.