

Table of Contents
Introduction to DSLR Photography Basics
OK, you have a big photography meetup coming up. You can’t seriously go and shoot in auto mode the whole time.
Right?
People will make fun of you. OK, who cares about them people. This is for you!
Jumping from auto to manual on a DSLR camera means your a serious photographer.
I can see it in your eyes. Your are serious.
And this is the day you want those training wheels to come off the bike.
In manual mode, your in control of everything, not the camera.
By everything, I mostly referring to the three fundamentals of photography.
Aperture, Shutter Speed, and ISO.
This post is for you if you’ve got a DSLR, a dream, and maybe a little shame bubbling up because you still haven’t switched off auto. I get it. Manual mode feels like jumping into the deep end when your mom’s not watching and you don’t know how to swim.
It’s scary, but let me tell you this:
Once you start swimming in the deep end, your never go back.
Why Manual Mode Feels So Scary (But Actually Isn’t)

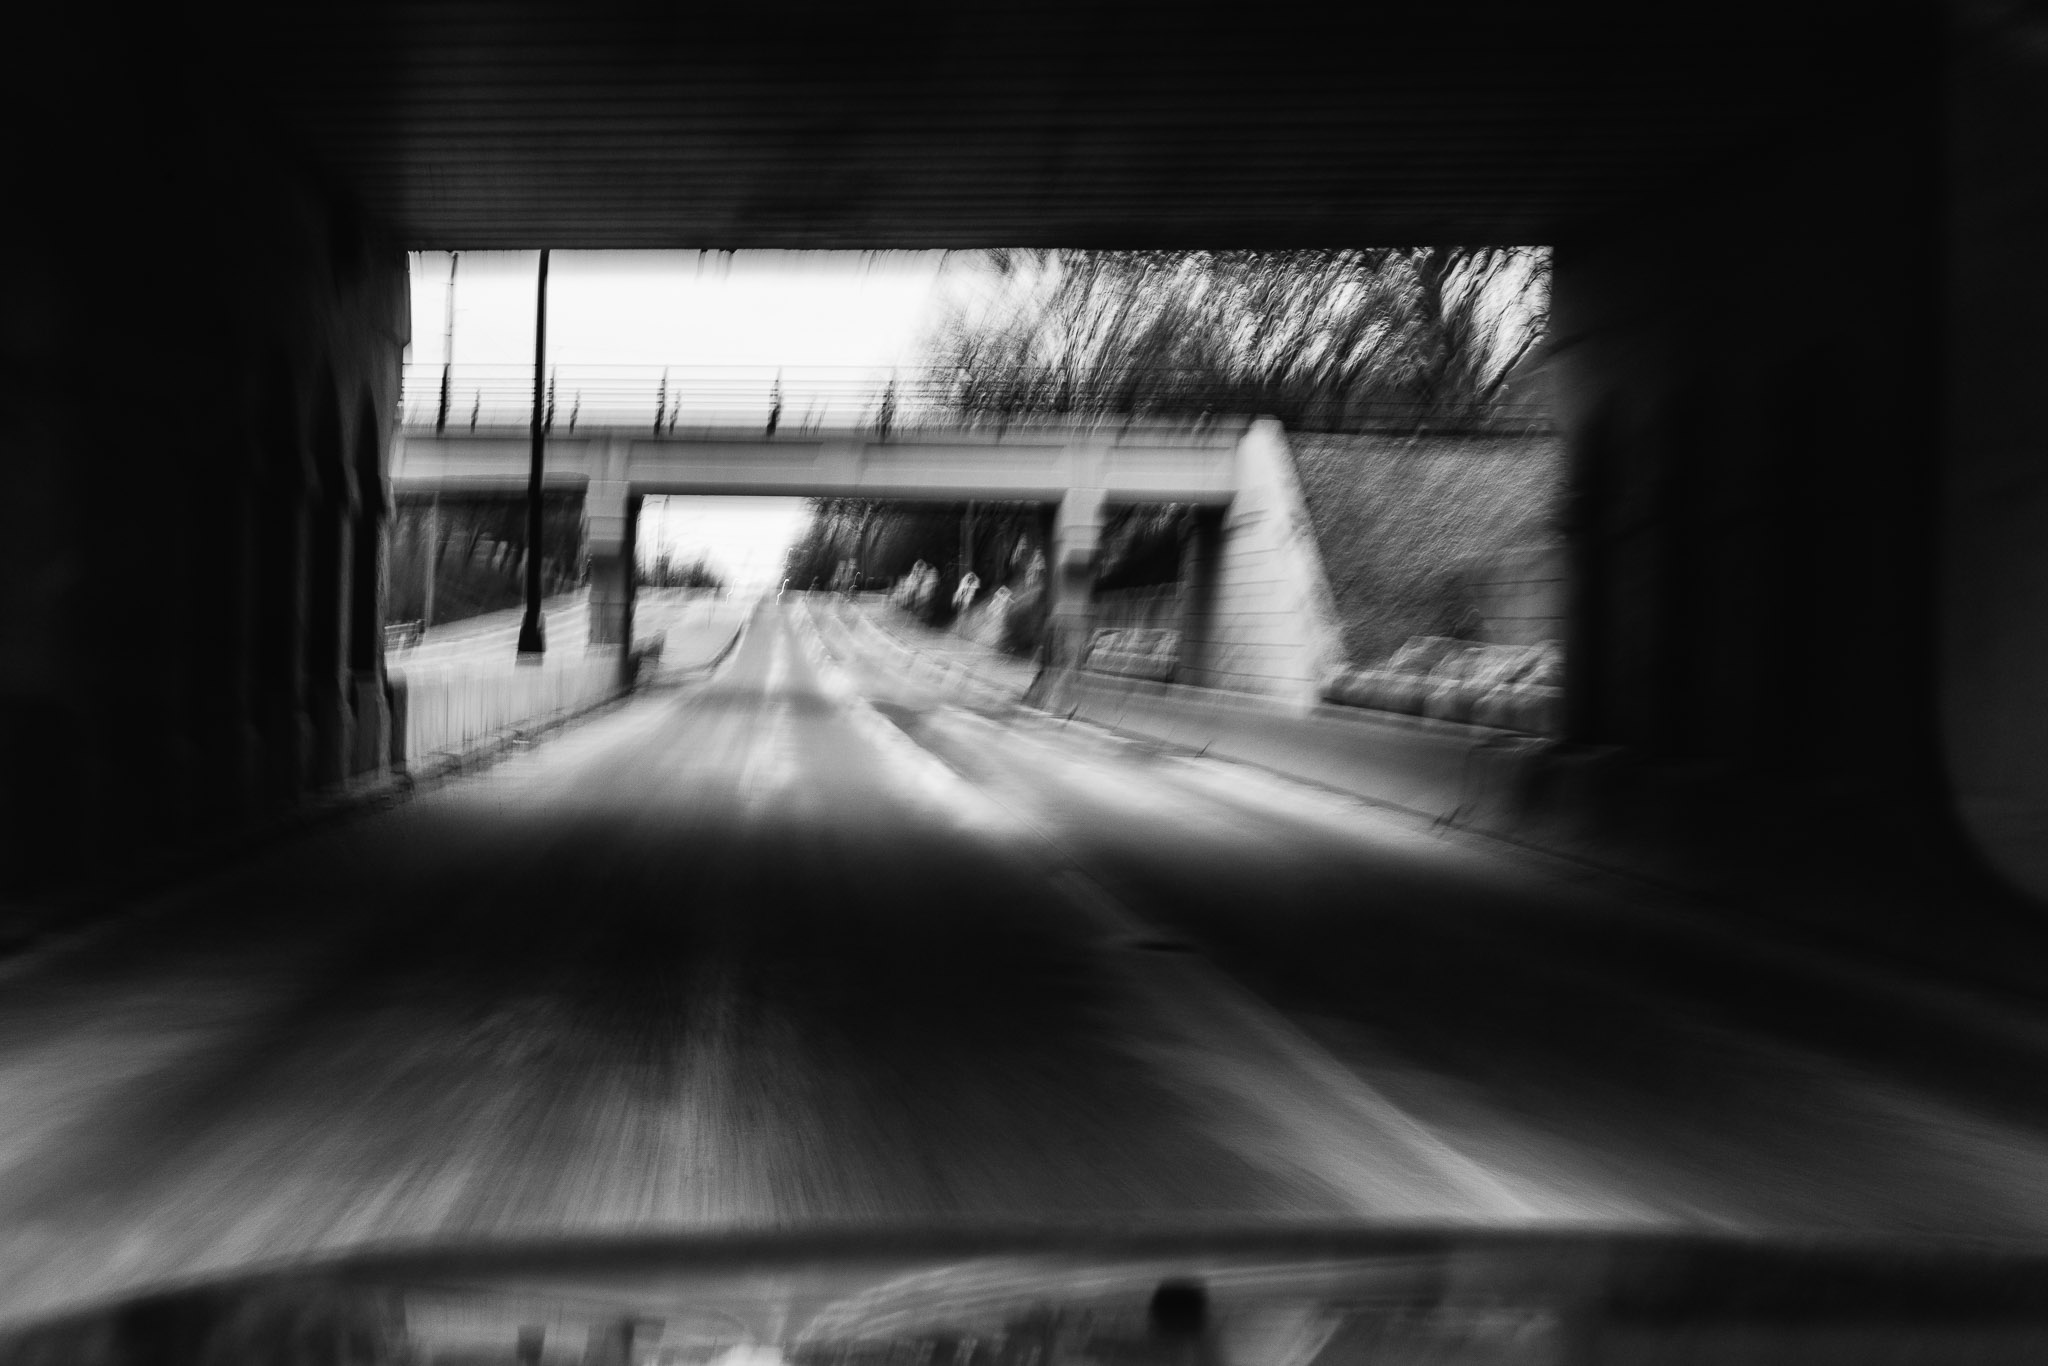
I remember the first time I flipped my mode dial to “M.” I was in the woods doing a little hike. Basically a photo walk. I was getting some really nice evening light too. Like, the light was basically begging me to take it seriously.
And I failed. Yup, not even failed a little bit. I took one shot, pure white. Like the inside of a light bulb. Started messing with the dials. Took another. Probably pure black. I remember I definitely had some blurry ones in the mix.
The point is… something about it felt good. Because for the first time, the mistakes were mine and I felt like I was on the road to becoming a real photographer.
By the end of this post, you’ll understand all the DSLR photography basics. You’re going to feel like you’ve got a new superpower. You’ll understand how to use aperture, shutter speed, and ISO without wanting to hurl your camera off a bridge. You’ll learn how to pick your lens on purpose. You’ll stop letting your camera make all the creative decisions for you.
And yeah, you’ll mess up. You better because your growth is depending on it.
Let’s begin with the three-headed dragon.
Aperture, Shutter Speed, and ISO (a.k.a. The Exposure Triangle)
I know you’ve probably heard of the Exposure Triangle. And if you haven’t, here’s the quick version:
Aperture controls how wide your lens opens. Think: pupil in your eye. Wider = more light, shallower depth of field (aka creamy blurry backgrounds). Narrow = less light, sharper details across the scene.
Shutter speed is how long your camera’s eye stays open. Fast = freeze motion. Slow = motion blur, like waterfalls or night traffic shots.
ISO is your camera’s sensitivity to light. Low ISO = clean images. High ISO = more light, more grain (sometimes we like grain, sometimes we don’t).
Combining these three elements gives you the power to capture the world as you see it, not just how your camera thinks it should look. Start experimenting and see the difference for yourself.
If the Exposure Triangle feels more like the Bermuda Triangle and you’re feeling totally lost in the fog, don’t worry. Here is the long version. Check out my in-depth guide: What is the Exposure Triangle in Photography?
Understanding Your DSLR Without Losing Your Mind
Your camera isn’t trying to be your enemy and soon you will be best friends.
The Mode Dial on top lets you choose how much control you want. Most people start in Auto. Then move to Aperture Priority (AV), Shutter Priority (TV), and eventually Manual (M). Manual means you control everything. Terrifying but necessary.
Then there’s the Shutter Button. Half-press to focus. Full-press to shoot. That’s it. Easy. I might create another post about back button focus but for now, let’s keep it simple and assume your using the default setup.
Aperture and Shutter Controls are your paintbrush. Learn where they are on your specific camera. Sometimes it’s a dial, sometimes a wheel. Just play around with it. You won’t break it.
ISO lives in a menu or might have its own button/dial. Again, it’s very camera specific so your going to have to play around with all the buttons on your camera and see what they do. It’s your camera. Own it.
And don’t ignore Focus Points. They help you choose what’s sharp. You can select one or let the camera guess (it’s wrong a lot). You can also switch to manual focus, especially for macro shots or low light. Manual focus feels slower, but it teaches your eye to see.
Why Manual Mode Changes Everything
Switching from auto to manual mode on your DSLR camera unlocks your creativity.
In auto mode, the camera is taking away all your creative decisions. Imagine painting but someone else picks your colors.
That’s Auto Mode.
Manual Mode says: “Nope. I’ve got this.” You decide how light or dark the photo is. Whether the background melts away or stays detailed. Whether motion is frozen or flows.
Sure, Auto might get a usable image. But Manual? That’s where you show up in the frame.
And here’s the thing: manual isn’t just about control, it’s about awareness. Light. Shadow. Movement. Stillness.
It rewires your brain to see like a photographer.
You learn to see. Light, depth of field, motion, and grain are under your control. With this newfound power, you can finally express yourself and tell the story you long to tell.
With manual mode, you can adapt to any lighting situation, making your photos stand out.
It can be hard at first, but mastering manual mode gives you complete creative control.
You don’t want to be a button pusher, right? You want to be an artist.
Embrace the learning curve. The results are worth it.
How To Actually Practice Manual Without Crying
Start with Aperture Priority mode. Photograph something close to you but with depth in the frame. Example: A leaf on a tree but you can also see others distant trees in the background. Set the aperture (say, f/2.8 or lowest your lens allows for blur or bokeh). Let the camera pick the shutter speed. Now take the same shot at f/11. Notice how your images differ?
Next, try Shutter Priority. First focus on freezing motion. Freeze your dog mid-run with 1/1000s. Next, explore motion. Blur traffic at 1/10s. Just… don’t get run over. (Seriously. Be safe.)
Actionable Advice: When you are in full auto or the semi auto, pay attention to the settings the camera is choosing.
For example, let’s say you are in Aperture Priority. You set your aperture and now the camera picks Shutter Speed and ISO. Pay attention. Try to understand why it’s choosing those numbers in relation to the available light.
When it’s time… go full Manual. Pick ISO first. Then aperture. Then adjust shutter speed until the exposure looks good. You’ll screw it up. That’s good. Screwing up is how you actually learn.
Sharp Focus Isn’t Luck. It’s Practice.
Focus is weird. Some days your camera feels psychic. Other days it focuses on a twig five feet behind your subject.
With my Canon 60D, I mostly used autofocus with a single focus point and aim for the eye (if it has one). With my Canon R5 I’m learning to just let the camera do it’s thing a little more. I’m a big fan of the R5’s continuous AF. The eye tracking and focus is really just amazing.
If I’m shooting macro or it’s pitch black, I flip to manual focus. Use the zoom/magnify feature to help your eye get it razor sharp. And brace yourself. If you shoot Macro you will feel like all the rules of photography are magnified as well. Shake = blurx100
If you’re feeling fancy, try back button focus (but that’s a blog for another day). For now, master what’s in front of you.

Composition: Why Two People Can Take the Same Shot and Get Two Different Feelings
You and I can stand in the exact same spot, shoot the exact same subject, and get photos that feel wildly different.
That’s composition. That’s story. That’s Photography and the Art of Seeing.
Think of your photo as a puzzle. Composition helps you decide how to fit the pieces together.
Rule of Thirds is probably the most well-known composition tip. Imagine your image divided into nine equal parts by two vertical and two horizontal lines. Try to place the most important parts of your photo along these lines or their intersections. It makes your photo more balanced and grabs attention.
Always be on the look out for Leading Lines. Use natural lines, like roads or rivers, to lead the eye into the picture. It’s a powerful way to pull viewers into your story.

Then there’s Framing. You can use windows, archways, or branches to frame your subject. It adds depth and interest, making your photos stand out.
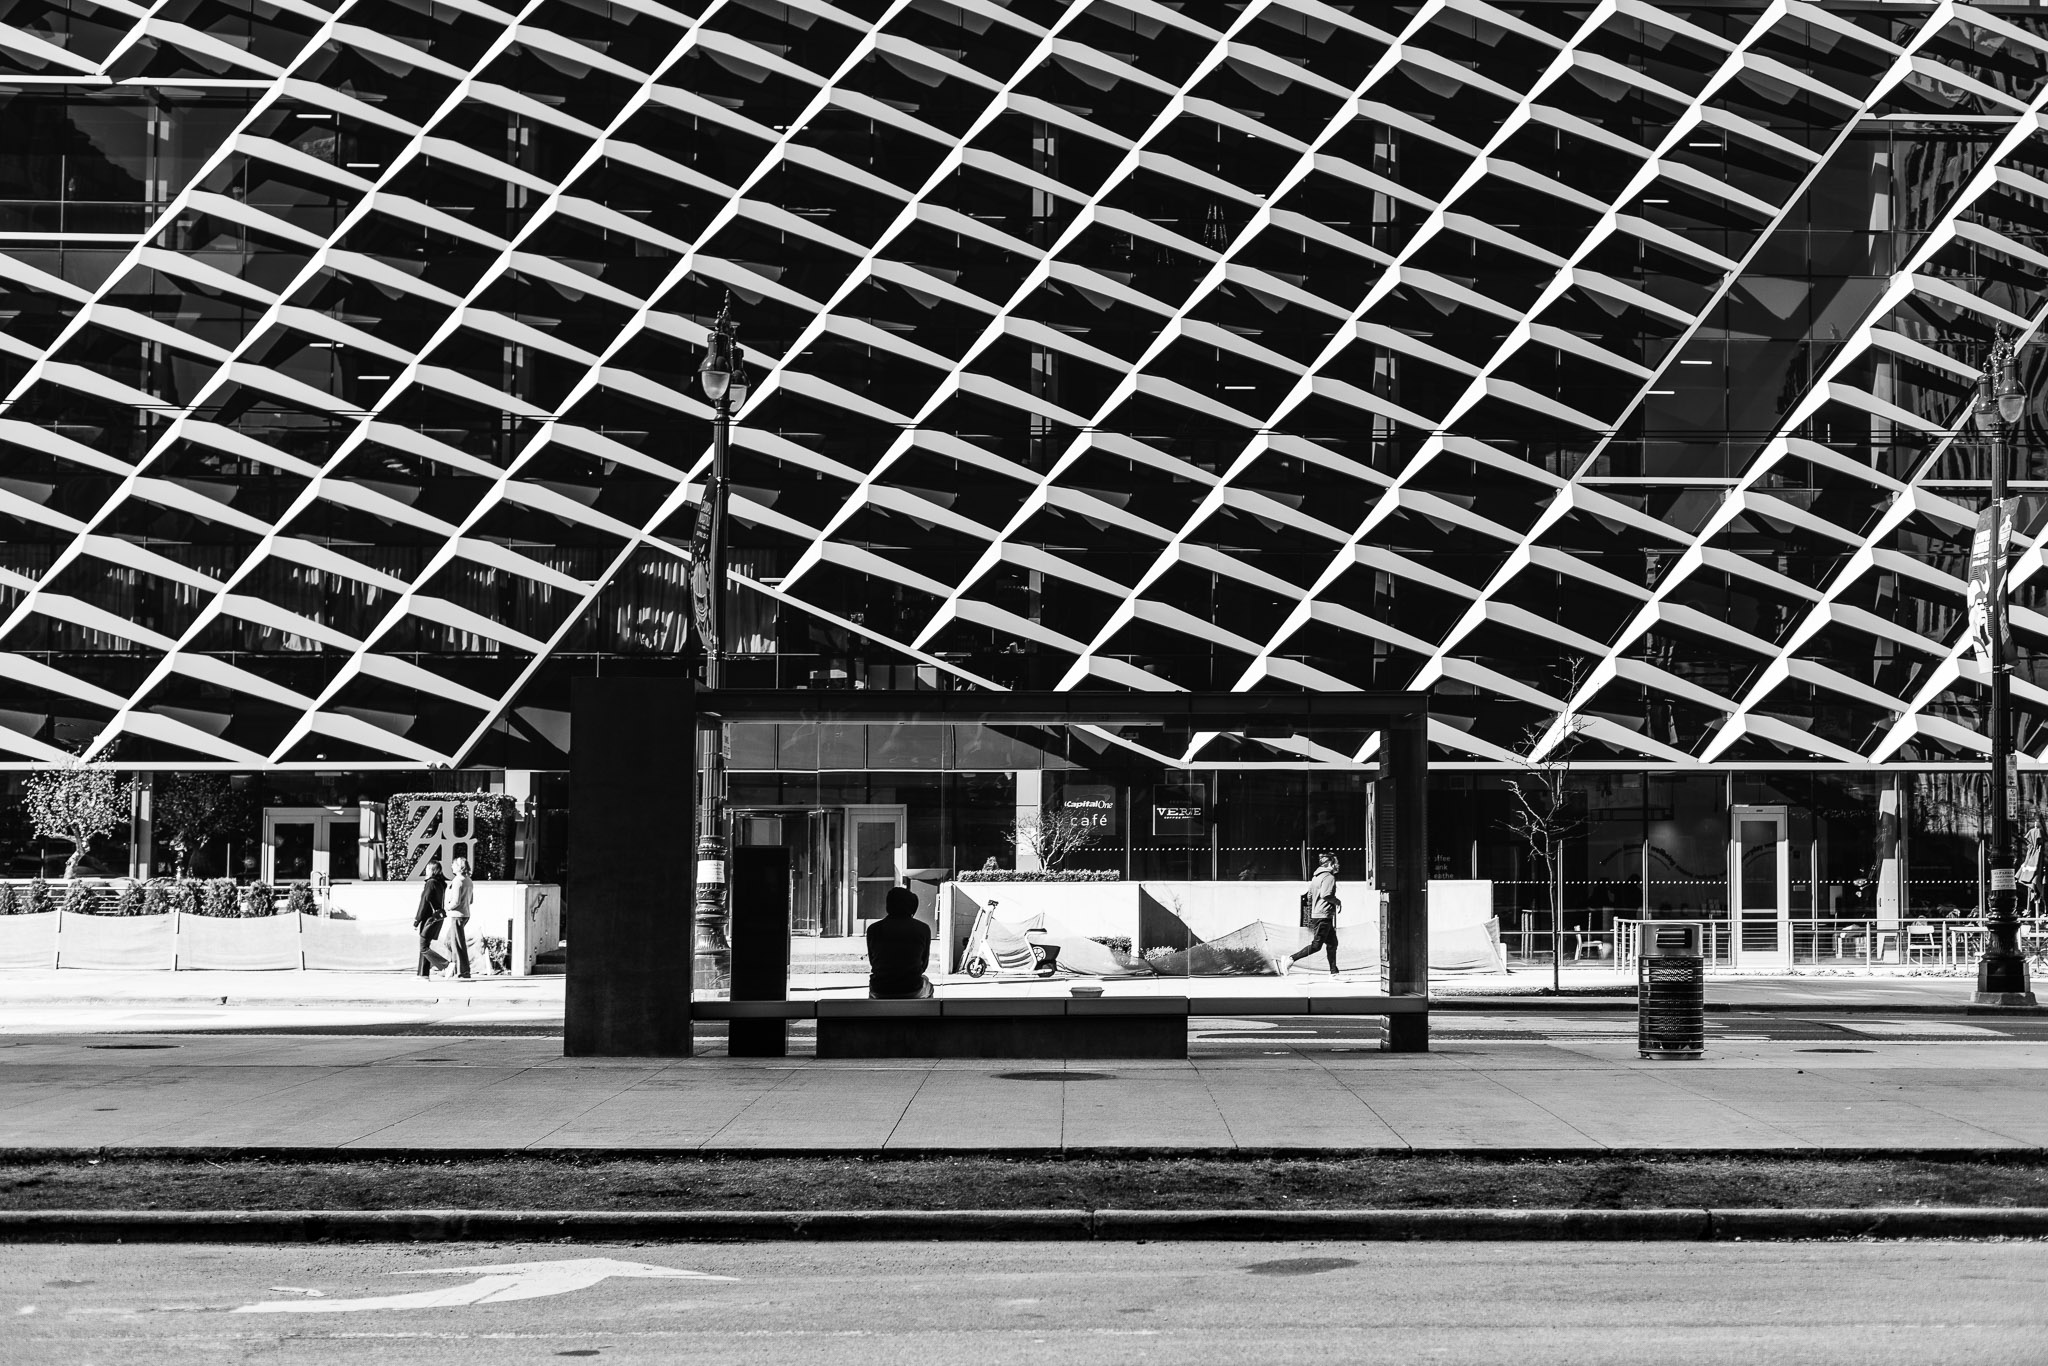
Don’t forget about Symmetry and Patterns. A perfect reflection or a repeating pattern catches the eye. But remember, breaking the pattern can add interest too.
Keep these techniques in mind, and play around with them. There’s no right or wrong in creativity. Your style will develop as you experiment with different composition techniques.
I’m not going to go too deep into composition here because I have a whole post about it here: 13 Photography Composition Tips for Bloggers
Lighting Will Make or Break You (In a Good Way)
Light is everything. Not gear. Not presets. Not trends. Light.
Golden Hour? Soft. Warm. Flattering.
Cloudy Days? Underrated. The light’s diffused, and your subject won’t squint like your shining a 200000 lumen flashlight in their eyes.
Midday Sun? Harsh, but usable. Use shade. Backlight. Reflectors. Scrim. Embrace the chaos. Embrace the drama of hard lines.
Indoor Light? Tricky. Learn to bounce it. Use lamps. Use your phone flashlight through a tissue (seriously, try it).
One more time for emphasis…
Light is King in photography.
Lighting teaches you patience. Observation. Improvisation.
How much light you have is important but where it comes from and its quality is the key to understanding photography. Think of light as the paint on your canvas. It can make or break your photo.
Natural light from the sun is your best friend, but it’s not predictable. The golden hours, shortly after sunrise or before sunset, give you that soft, warm glow photographers love to chase.
But sunlight isn’t always on your side.
Sometimes you will be begging for a nice cloudy day. You see, clouds diffuse light, reducing harsh shadows, which can work to your advantage, especially for portraits.
Indoor lighting is a whole different game. It’s all about manipulating light sources or even creating your own with flashlights or lamps.
The key is to experiment. Move stuff around. Change angles. Play. Have fun. See how different light sources change the mood of your photo.
Remember, the best light is the one that helps tell your story the way you want it told.
Want to read more about Light. Of course you do, Photography is the art of painting with light and you’re a photographer.
You love light!
Read more about light here: 10 Photography Lighting Tips for Bloggers
Lenses and Gear: Start With What You Have, Then Get Curious
Look, your kit lens isn’t trash. It’s training wheels. Use it to its full range. Learn what you love and hate about it.
Then start thinking.
Want to shoot landscapes? Try a wide-angle lens.
Obsessed with bird photography, wildlife, sports? Hello, telephoto.
Want to get real close? Like, “I can see the wings of a fly” close? Macro lens.
Accessories?
Tripods slow you down but in a good way.
Remote shutter releases eliminate shake.
Filters let you bend light in new ways.
Don’t buy gear because a YouTuber said so. Buy it because you’re bumping into a wall and need a new tool to break through.
Creative Projects to Practice Without Pressure
Want to actually get better? Practice with intention.
Try a Day to Night project. Photograph the same spot from morning to night. Watch how the light changes.
Do a One Lens Challenge. Shoot everything with a single focal length for a week. Force creativity. If you only have one lens this challenge is on by default.
Pick a theme: Reflections. Hands. Yellow. Texture. Silence. Something weird. This is my favorite idea and I think this is where photography really shines. When you start thinking past “the shot” and start looking forward to “the collection”. That’s when photography get’s interesting.
Print your photos. Tape them on a wall. Look at them every day. You’ll start to see what’s you.
Photography isn’t about being perfect. It’s about showing up. Looking. Trying. Again and again.
Final Thoughts: Where You Go From Here
You don’t need to master everything today.
You don’t even need to switch to full manual tomorrow.
What you do need is a little more awareness. A little more intention. A little more messing around with the buttons until something clicks, not just in your camera, but in your brain.
Let your photos be weird for a while. Let them suck. Let them surprise you. Manual mode is the beginning of seeing photography as something you make, not just something your camera captures.
So go outside. Find some light. Twist some dials. And start taking photos that feel like they came from you.
💬 What Did This Post Make You See?
Leave a comment and share what this post made you think, feel, or notice.
👀 NFT Friends
Feel free to drop your public wallet address with your comment… because who knows right…
🖼️ Before Language, After Light
Default Gallery: Featuring recent photography and artwork from creators I’ve collected on Tezos. Updated regularly to reflect the spirit of each post. → View Full Curation on OBJKT
🟢 Currently Open for Submissions
Have a Tezos NFT that fits this post’s theme? Share a link with your comment (link-only posts will get flagged as spam). I may collect or feature it here or in a future post.
Support independent creators. Discover and collect below.


Leave A Comment