Great, time to install WordPress on SiteGround. If you’ve been following along with me you now have a domain name that you registered with NameCheap. You’ve also updated your DNS NameServers in your NameCheap control panel so they point to your new SiteGround hosting account.
We just need to install WordPress and then the real fun begins. In this post, I will show you how to install WordPress on SiteGround two different ways. First using the SiteGround Wizard and then using Softaculous.
Amazing WordPress Recommendations
| SiteGround | WordPress Recommended Host |
| NameCheap | Recommended Domain Registrar |
| WP Rocket | The One Plugin I Purchased – Speed Matters! |
| Online WordPress Classes | CreativeLive WordPress Training Classes |

1st Way: Use the SiteGround Wizard to Install WordPress
Quick Note: As SiteGround updates the Wizard sometimes the wording and photos will change a little bit but the process should be very similar. Plus, there’s really no way you can screw this up, that’s how easy they have made it.
When you log in to the SiteGround Control Panel for the first time you will be asked to set up your new website. Just select “Set Up Site.”

Choose “Start New Website” and under software to install choose the application “WordPress.”

You will be asked to enter an email address and create some login credentials regarding your WordPress account. Do not use Admin as your username, it’s too easy to guess, choose something unique. Create a strong password. Click “Continue” when ready.

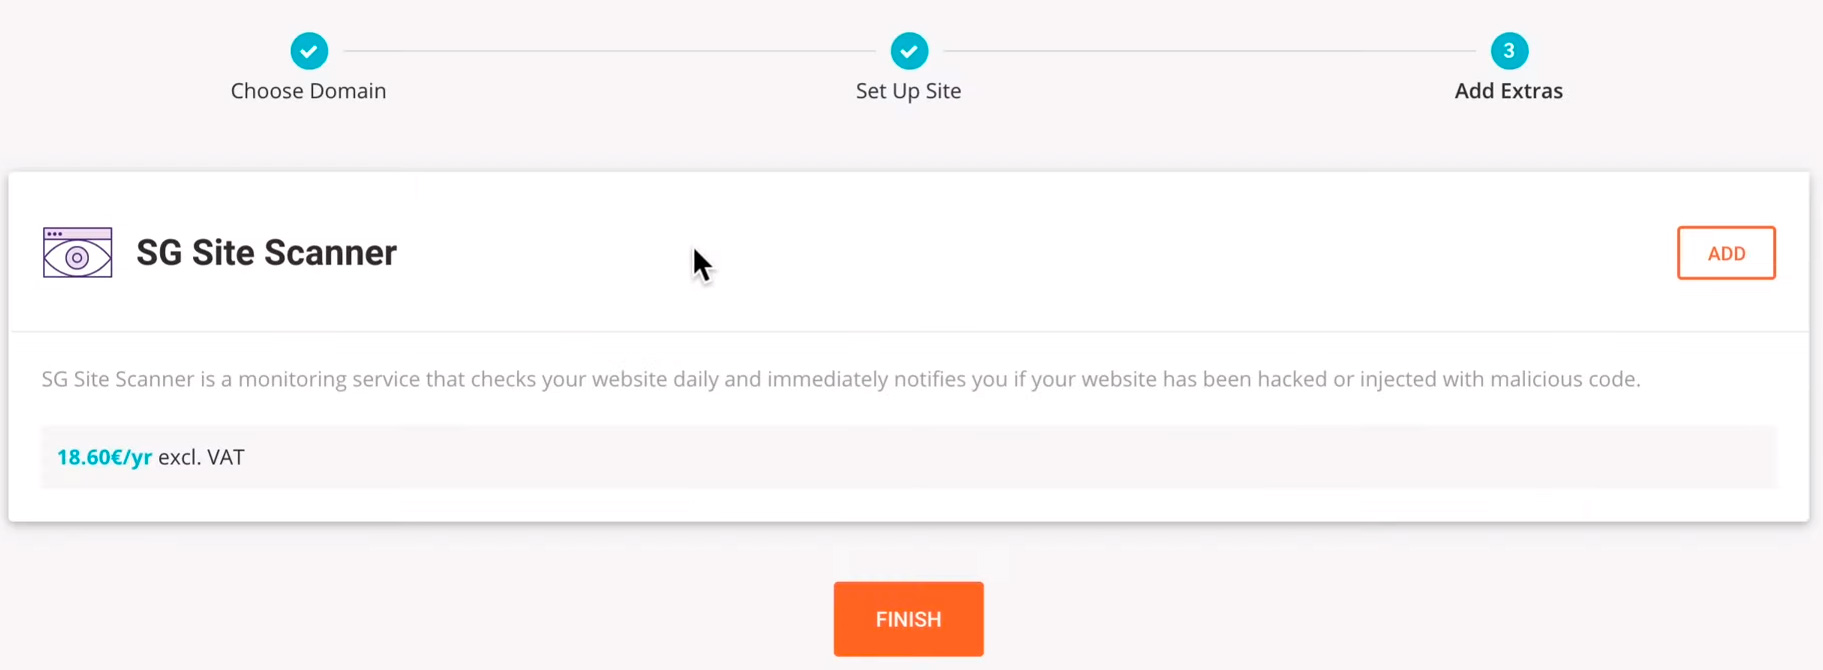
You will get a quick summary stating that you have requested to install WordPress on your account. It will also ask if you want any enhancements like the SG Site Scanner. Just ignore and click “Finish.”
Now it should say “Creating Your Site.“

Congratulations! You have now Installed WordPress on SiteGround
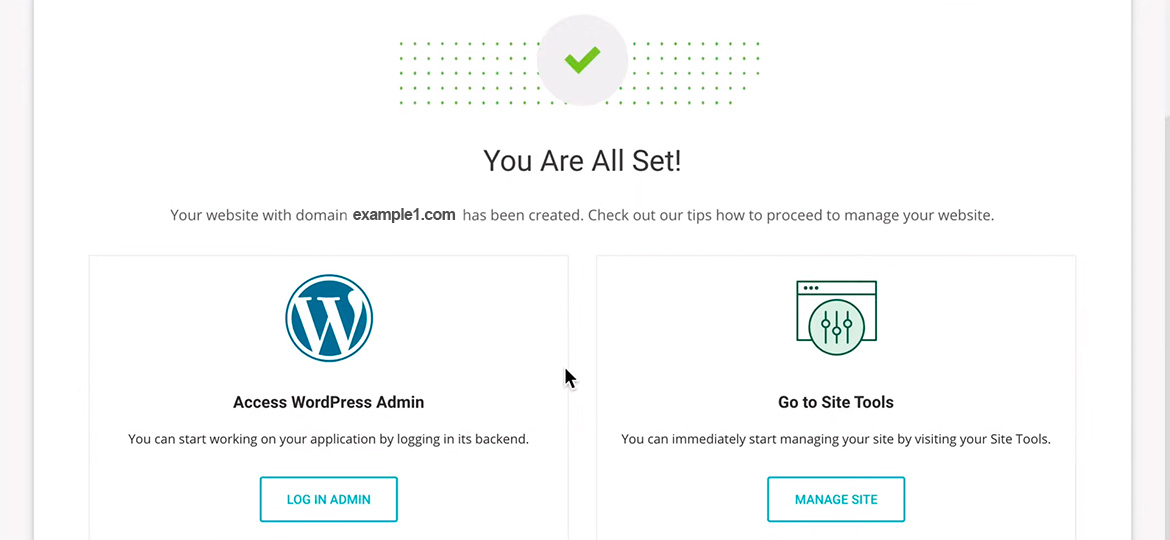
Your site is now live. If you click “Access WordPress Admin” you will be directed to the backend of your website where you can immediately start building. If you select “Go to Site Tools” you will be taken to your SiteGround customer area where you can access various tools to manage your website.
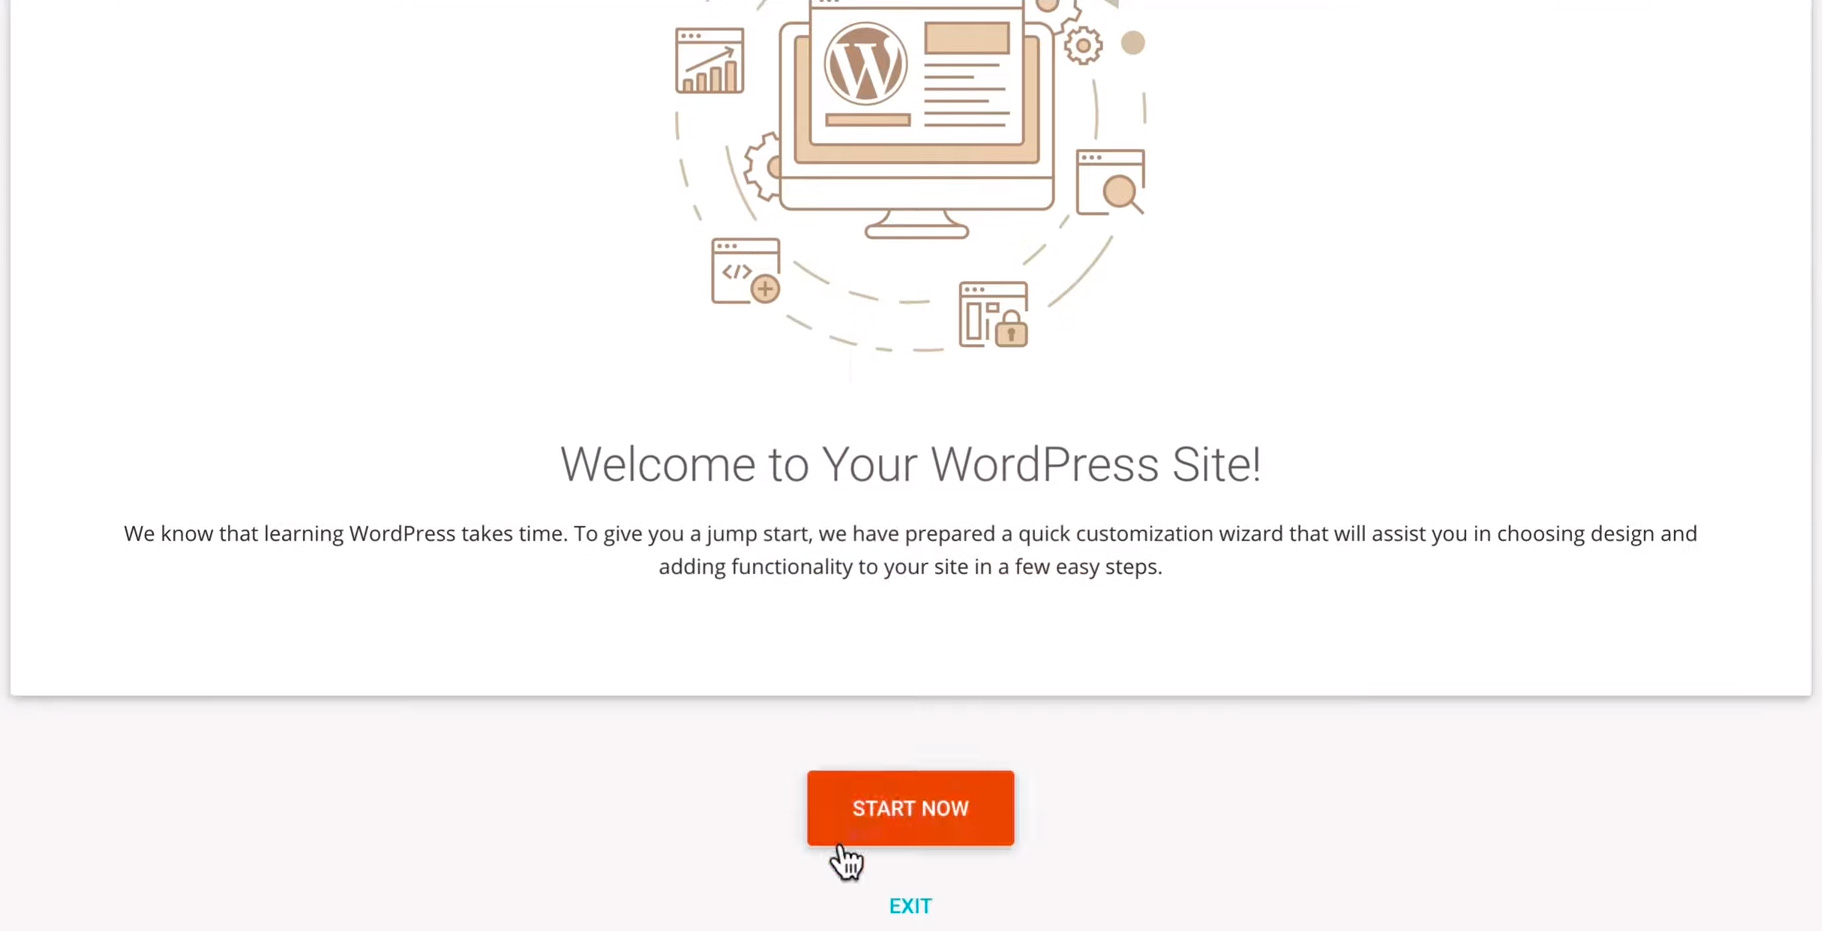
When you go to your WordPress Admin area for the first time you will be given the opportunity to use the SiteGround WordPress customization wizard. The wizard will help you pick a theme, suggest plugins, etc. If you want that kind of help just hit “Start Now” but if not, hit “Exit” and you will be directed to the normal WordPress interface.he
Tip: You can always access the backend of your website by going to http:yoursite.com/wp-admin
2nd Way: Use Softaculous to Install WordPress on SiteGround
If for whatever reason you would rather use Softaculous to install WordPress that’s fine too. As an existing customer, I used Softaculous to install WordPress on additional domains. Also, just like the first way, this is super easy!
First, log in to your SiteGround Control Panel > My Accounts > Click the Red/Orange button “Go to cPanel.”

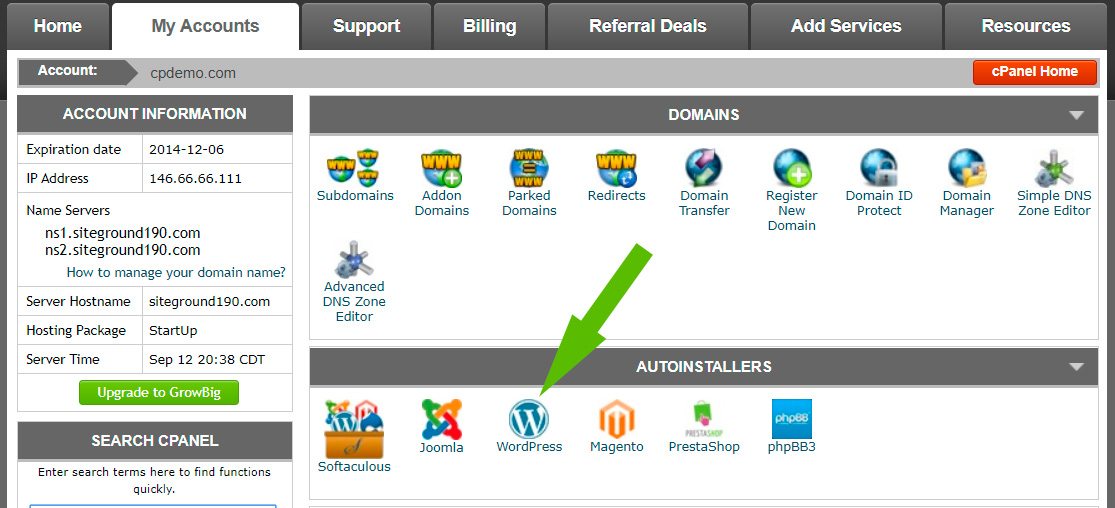
Scroll down to the AUTOINSTALLERS, select WordPress from the list.
If for some reason you don’t see WordPress then select Softaculous. From here you will be given a list of possible applications you could install, select WordPress.
Once on the WordPress page click the blue “Install” tab at the top of the page. This will take you to the software setup page with settings for your WordPress Installation.

Software Setup Page

1.) Choose Protocol: If you have enabled an SSL certificate for your domain then you can select https but if not that’s OK, select HTTP and I will show you how to enable SSL/https later.
2.) Choose Domain: The URL of the domain we are installing WordPress on.
3.) In Directory: Typically you will leave this blank to install directly to the root domain. If you prefer to install WordPress to a subfolder then simply type the name of the folder. For example, if you typed in “portfolio” then WordPress would be installed at mysite.com/portfolio
4.) Site Name: The name of your WordPress site. You can change this in your WordPress Admin panel anytime.
5.) Site Description: The description or tagline for your WordPress site. You can change this in your WordPress Admin panel anytime.
6.) Enable Multisite (WPMU): Leave this unchecked. Multisite allows you to create a network of websites running off of a single WordPress installation.
7.) Admin Username: This is your username to login to your WordPress Dashboard. Do not use “Admin”. Choose something unique.
8.) Admin Password: This is the password to login to your WordPress Dashboard. Choose something strong. I suggest a mix of lower and uppercase letters, numbers and special characters.
9.) Admin Email: This is the email account that WordPress will use to send important notifications. For example, when a new user creates an account or a new comment is awaiting moderation. You will also use this email to recover your password should you ever lose it.
10.) Select Language: You are able to display the WordPress Administrative “back-end” in almost any language. Choose the one that works for you.
11.) Limit Login attempts (Loginizer): This will increase the security of your website by limiting how many times someone can enter incorrect login details. You can define how many attempts is too many in the plugin settings. This helps deter hackers by blocking their IP address when this number is reached.
I like this plugin but in my next post, I’m going to suggest another plugin, Wordfence. Wordfence will provide the same functionality plus more. Skip the rest of the plugin options as well as the themes. We can do this later from the WordPress Dashboard.
Note: If you do decide to install a plugin you can always delete a plugin later so it’s no big deal.
12.) Classic Editor: If you want the classic WordPress editor and edit post screen check this box. This is a plugin, if you don’t know anything about the old WordPress editor then don’t bother. You can always install it later if you choose.
13.) Easy Setup – WordPress Starter: If you are new to WordPress keep this checked. Once inside the WordPress Dashboard, it will walk you through picking a suitable theme and plugins for your site based on your needs.
Advanced Options
14.) Database Name: I like to change it to something that I recognize belonging to this particular site name. This way, I can immediately recognize what database belongs to what website when inside cPanel. You may never even mess with the database directly but you never know.
15.) Table Prefix: There used to be a big to-do about changing the WordPress Table Prefix for security reasons but I am now in the camp of don’t do that. If you want to read more on this you can find information here: https://www.wordfence.com/blog/2016/12/wordpress-table-prefix/
16.) Backup Location: I leave this as Default.
Note on any Additional Options
Because of software updates over time, you may see some additional options appear. You also may see some options not available anymore. Unless you know what you are doing I would just leave the rest of the options at their default state.
INSTALL: It’s time to Install WordPress. Hit this button for the installation to begin.
Once finished installing you should see a message stating that the software was successfully installed. You should also see two links, one to the home page and one to the admin dashboard of your new WordPress site.
If you checked the Easy Setup – WordPress Starter box
Click the administrative URL to launch the Easy Setup – WordPress Starter feature if you selected that option. Here you will be asked to choose a suitable theme from a list of hand-picked templates across various categories. Just pick something that resembles what you have in mind. Don’t stress about it as you can always change it.
Pick a WordPress Theme

Based on the theme you choose you will be offered various suggestions on what plugins to install. Some themes rely on plugins to show the content the way the developer envisioned. One such example would be the Elementor plugin. You probably should install them if you plan to use the theme.
Install Recommended Plugins for your WordPress Theme

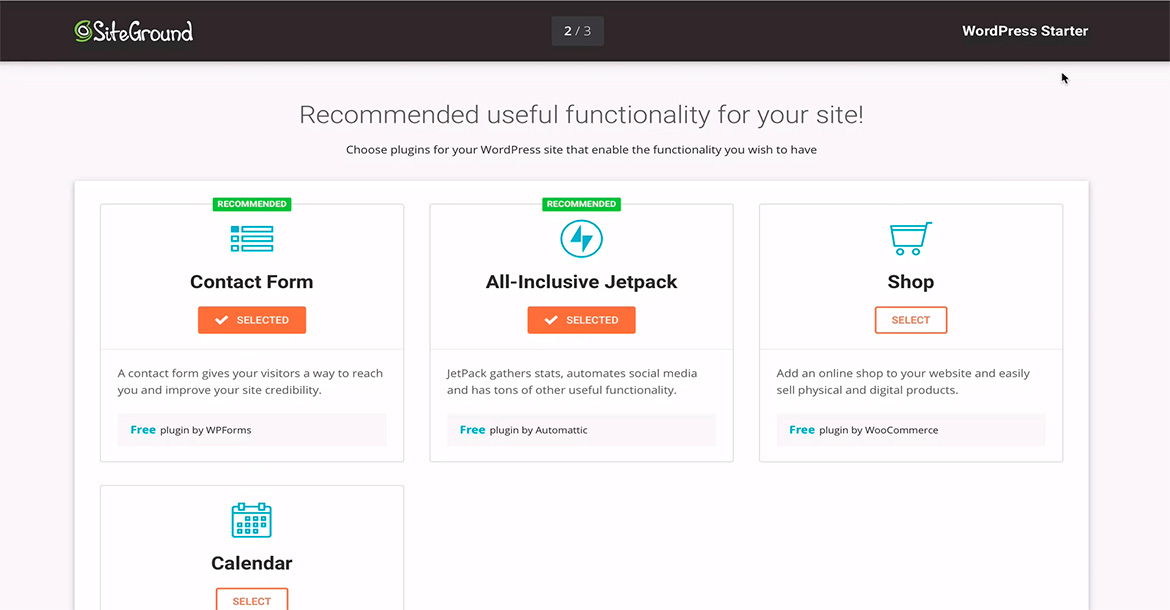
You will also be shown a list of recommended plugins to add useful functionality to your site. Among those, I recommend you choose Contact Forms by WPForms as this will be useful when creating your contact page. All-Inclusive Jetpack will also already be selected. Some people love it for all the functionality it brings. Other people say it bogs down their website with features they don’t need. Still, the cool thing about Jetpack is that you can enable and disable functionality as needed. I’ll leave this one to you, remember, you can always delete it later like I did.
Recommended Plugins for WordPress Sites
Finally, you will be offered some plugin suggestions to help market your website more effectively. Among them are Monster Insights, Yoast SEO, and OptinMonster. All three are great options and will help you grow your website.
Recommended Plugins for Marketing WordPress Sites

Most of these plugins are free with premium paid versions. OptinMonster, however, is a paid plugin with a free trial period through a partnership with SiteGround. Currently, I am using Convertplus instead of OptinMonster as it’s a one-time payment. I have enough monthly payment fees.
I’m sure Convertplus is lacking many advanced features compared to OptinMonster but I like it for the price. Feel free to try OptinMonster and don’t forget, you can later delete what you don’t want/use.
Finally, click on the “Complete” button to finish the setup. Once complete you will get a message saying your site is ready. Use the link and go to your Dashboard. On the WordPress Dashboard, you will find customized links to help you create, design, and develop your Website.
If you didn’t check the Easy Setup – WordPress Starter box
That’s OK, head to the dashboard anyway and let’s start setting up your website.
Up Next: 21 Things to do after installing WordPress
Best Books on WordPress and Blogging


[…] you followed my tutorial, “How to Install WordPress on SiteGround” then you are up and running and hopefully things are going smooth. In this post you will learn […]