Ever wonder how to capture images like a professional photographer with the camera you have? Are your Camera Settings Wrong? Do you want to Blog like a Blogger but Photograph like a Photographer?
This is my 3rd post in the Photography Tips for Bloggers series. If you haven’t read my first 2 posts in the series you might want to backtrack. I talk about Lighting in the first post and then follow it up with a fun post about Composition.
In this post, I’m going to talk about Camera Settings. Are your Camera settings wrong? Mine sure were when I first started into photography. I had no clue what I was doing.
This post will help you set up your camera with the best camera settings so you don’t make the same mistakes I made. With the right camera settings, you can start taking amazing photos today!
Are Your Camera Settings Wrong?
When I first bought my DSLR I went on a road trip before actually understanding the camera I was holding in my hands. I knew nothing about RAW files, White Balance, Color Space, Aperture Priority, Shutter Priority, or Manual Mode.
Instead, I knew one thing. If I put the dial on the green camera icon, I could take a photo fairly easy and the results were great. Well, I thought so at the time. Later, I understood my mistake.
I photographed my entire vacation on Medium/Fine Image quality. I had a pile of medium JPG’s. I had no idea that my future self would look at me with such disdain.
“Damn you Michael!”
Sorry future self but he’s right! If I had shot these images in RAW format, I could have utilized my future skills In Lightroom to make some of these images shine. Not only that, but I also recorded all the photos at 2048×1360 because why not?
“Photographs aren't accounts of scrutiny. The shutter is open for a fraction of a second.” - David Hockney Share on XCamera Settings Explained
Don’t make the same mistake I did. I’m going to go over some basic camera settings. These are universal settings. You will find these camera settings in most digital cameras regardless of brand or model.
1 ) Image Quality RAW – Best Camera Settings
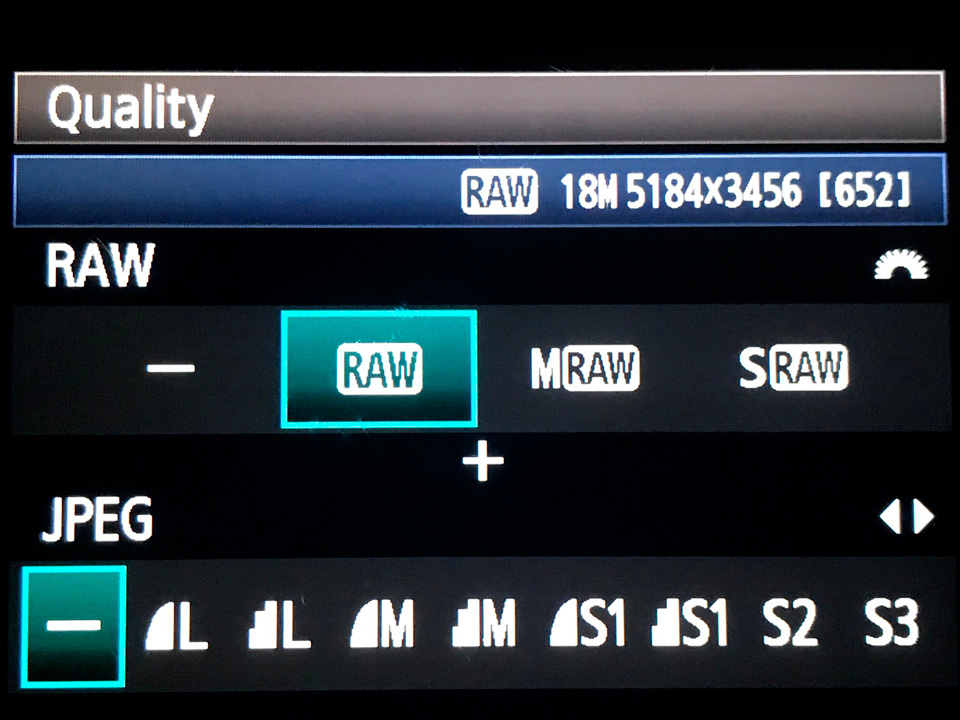
The best way I’ve heard RAW files explained is to actually equate them to film negatives. It’s the basic information contained within the image but it’s completely unprocessed. You still have many creative choices to make with the image.
When I first converted my camera to shoot RAW I was confused. The images looked darker than usual and more blah. Well dah, that’s because nothing was done to the image.
When you shoot in JPG mode, your camera is taking the information and applying a standard preset to every image before converting the file into a JPG. With RAW files, the choice is yours. You decide contrast, sharping, shadows, highlights, etc.
Now sure, you can open a JPG file up in Lightroom and start adjusting these same settings. The problem, JPG files do not contain the same amount of information as a RAW file. Take the two images below to illustrate. In this first image, the foreground is underexposed.
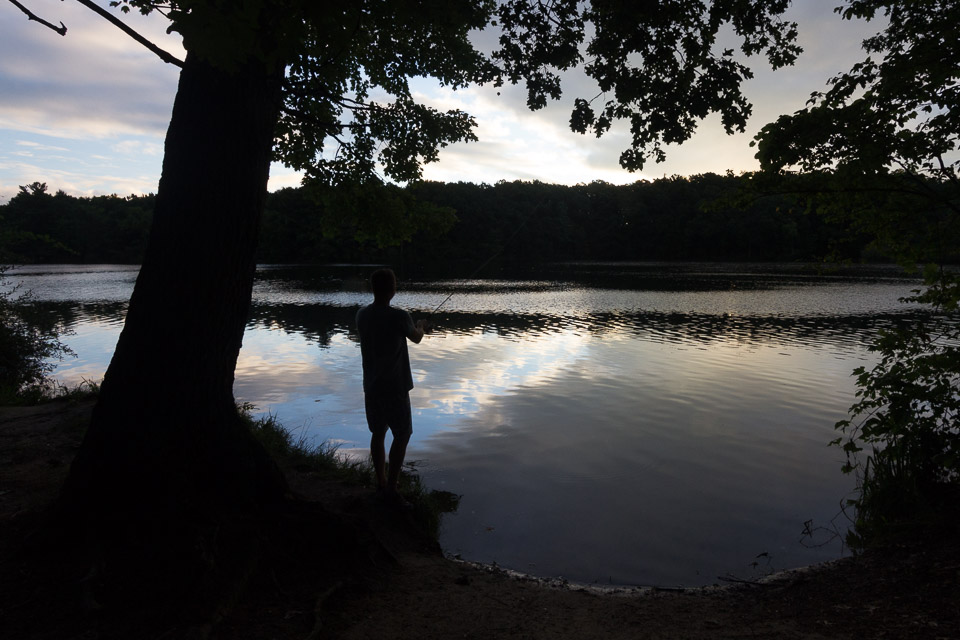
In the next before/after photo, I offer a sample comparison of editing the underexposed image from both RAW and JPEG format. Slide the slider back and forth to see the difference.

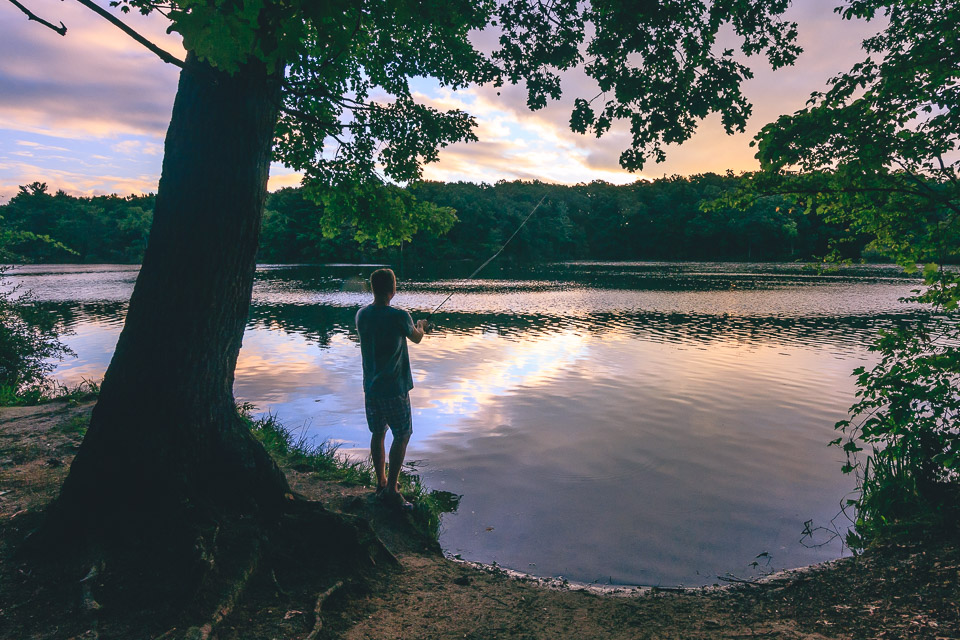
Comparing the two images above you can clearly see the power of RAW. Additionally, every time you save that JPG file the quality is going to degrade even further.
The only disadvantage you will encounter when shooting RAW is the file size. RAW files are big. They take up much more space on your camera and hard drive. Some cameras have a RAW Lossless Compressed option. This is the most efficient means to record your files. No data is lost but the files are smaller.
Image Quality Best Camera Settings – RAW Lossless Compressed if available
2 ) Camera Settings that don’t Matter when shooting RAW
The following settings have no impact on your RAW files. However, even when you are shooting RAW the preview that shows up on the back of your camera is a JPG file. Therefore, these camera settings do affect the preview.
That is why the image on the back of your camera often looks different from the RAW image that loads into Lightroom or whatever RAW editor you are using.
For this reason, I try to make these settings as basic or standard as possible. I want the image preview on the back of my camera to look as close as possible to the initial unedited RAW file.
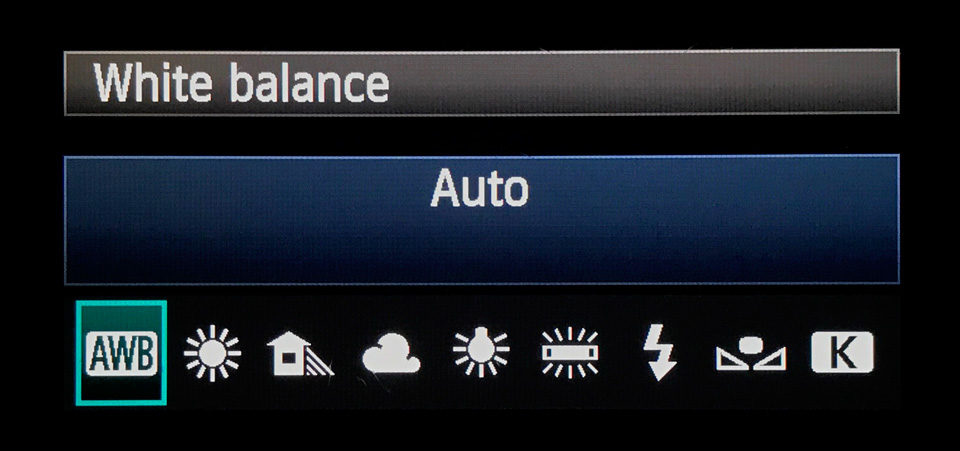
White Balance: Set it to Auto and Go. You will be able to change the white balance when processing your RAW files. Yes, it is truly like going back in time and selecting the right choice.
Color Space: Set Color Space to sRGB and go. You will be able to export your files to your chosen color space when you process your RAW file.
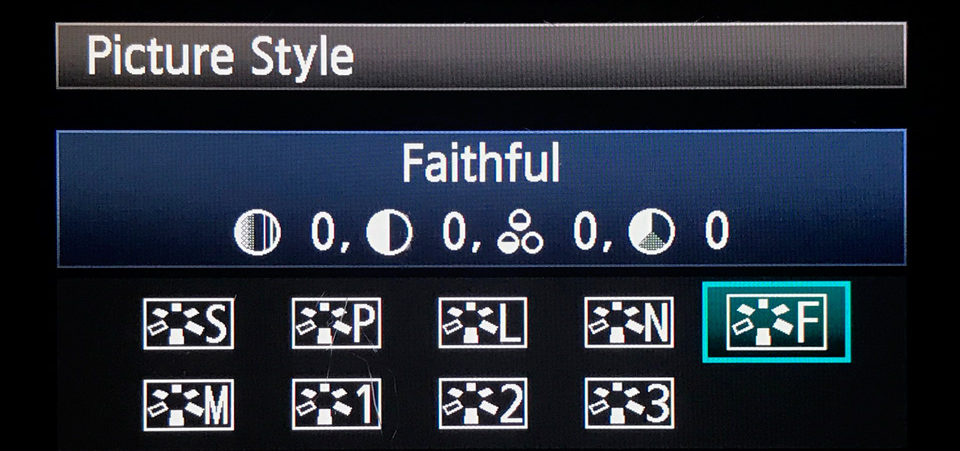
Creative Style, Picture Control, and Picture Style: I like to choose Standard, Neutral, or Faithful. Again, I want the image previews on the back of my camera to appear similar to my unedited RAW file. I don’t want to select a profile that increases color saturation, etc.
I shoot Canon. For this reason, I like Faithful: Accurate recording of the subject’s color, close to the actual image seen with the naked eye.
High ISO Noise Reduction: OFF, again, this has no impact when shooting RAW.
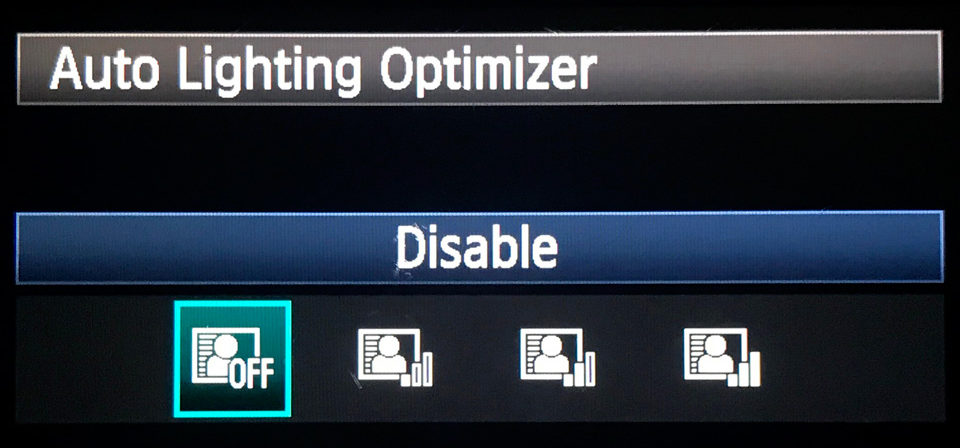
Auto Lighting Optimizer, Active D-Lighting/DRO, HDR, Lens Corrections, etc: OFF – no impact on RAW.
3 ) Best Camera Shooting Modes
Generally, only four shooting modes in your camera settings are worth understanding. Beyond that, modes like Scene (Fireworks, Macro, Sports, etc.) are not necessary. If you understand these four settings, then all these other settings become obsolete.
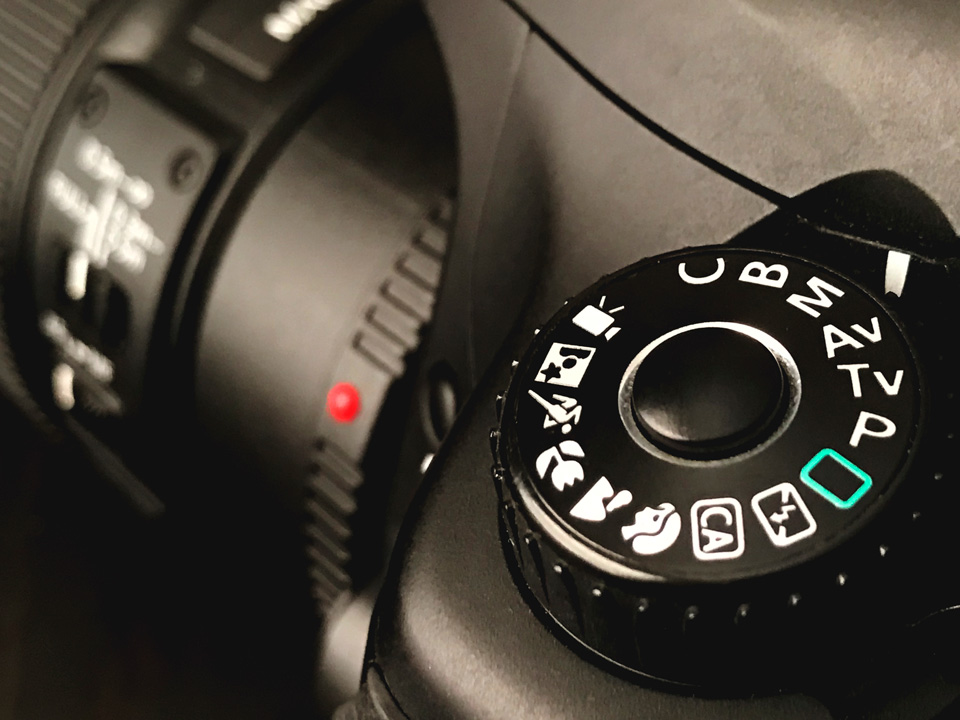
Shutter Priority: With Shutter Priority, you control the Shutter Speed and the camera chooses the aperture and ISO (If you have auto ISO enabled). This mode is great when Shutter Speed is the priority.
Think sports where you know you want to freeze the subject using a high shutter speed. Conversely, maybe you’re photographing a waterfall and want that wispy look like the water is still flowing. For this, you need a slow shutter.
When Shutter speed can make or break a photo than Shutter Priority is a great option. When in Shutter Priority you can use exposure compensation to adjust your exposure up and down any time you feel fit.
Exposure Compensation will further adjust your Aperture and ISO (if auto ISO enabled) to allow more or less light.
Aperture Priority: The exact opposite of Shutter Priority is Aperture Priority. You select the Aperture and your camera will select the Shutter Speed and ISO (if auto ISO enabled).
Aperture Priority is great when depth of field is the most important thing. For example, if you’re trying to isolate your subject from a busy background you can choose a shallow depth of field, small f/number like f/1.8. Your camera will do the rest.
Alternatively, maybe context is important. Maybe you are taking a photo of a man working in his shop. The shop is important too. In this case, you might want to use a larger f/number like f/11 so some of the tools in the background are also in the realm of focus.
Similar to Shutter Priority, you can use Exposure Compensation to make fine adjustments to your exposure.
Manual: I’m not going to lie. I Spend 99% of my time in Manual mode. I never use Shutter Priority. Only occasionally will I use Aperture Priority. I know some photographers love these modes and there is nothing wrong with that.
I personally just feel more comfortable knowing what every camera setting will be. Maybe I am a control freak but in Manual Mode, everything is possible, I have complete control. I’m responsible for the correct choices and the wrong choices.
Do note, when you are in Manual Mode you will not use Exposure Compensation. There’s nothing to compensate for because you already made all the choices.
I’m telling you this because when I was new I remember being a bit confused. So again, Exposure Compensation is only for the Aperture and Shutter priority modes.
Bulb: Bulb mode is more of a specialty mode. Photographers use Bulb Mode to hold the shutter open for extended periods. This is perfect for long exposures. Typically, you can take long exposures up to 30 seconds when in Manual Mode. In Bulb Mode, however, the shutter will stay open until you close it.
4 ) Best Camera Focus Modes
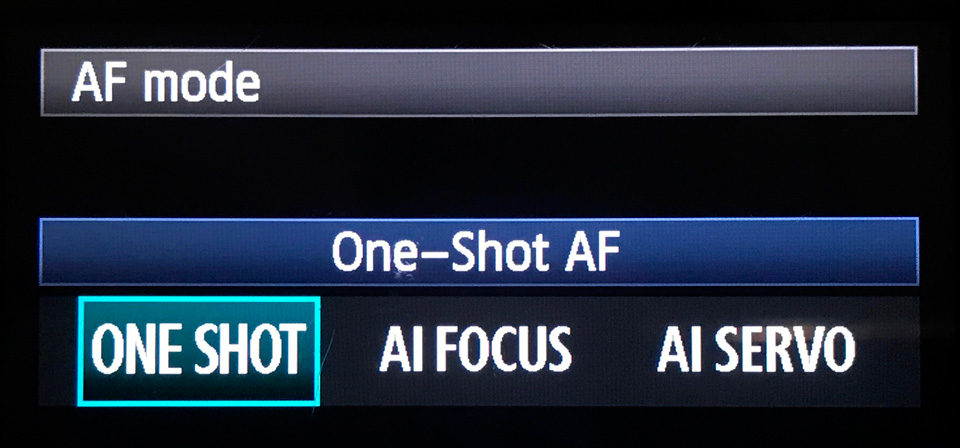
The best focus mode is more about choosing the right mode for the right circumstance. The most common focus mode is Single Area AF, One-Shot AF or AF-S. They are all the same thing.
Single/One-Shot/AF-S: You press to focus, the focus locks, and you snap the photo. This is the best choice if your subject is not moving a whole lot. If your subject is moving than Continuous / AI Servo Focus Mode is a better choice.
Continuous/Al Servo: If your subject is moving than this mode is your best choice. Let’s say your subject is running at the camera. With Continuous/Al Servo, your camera will continue to track your subject and adjust focus for as long as you press the focus button.
AF-A/AI Focus: Some cameras have a third hybrid option. With this option, your camera automatically detects if the subject is moving and switches between Single Area AF and Continuous.
In theory, this sounds good but it never felt right to me. Therefore, I do not use this mode. Instead, I just look at the situation and adjust accordingly between Single and Al Servo.
5 ) Best Camera Metering Modes
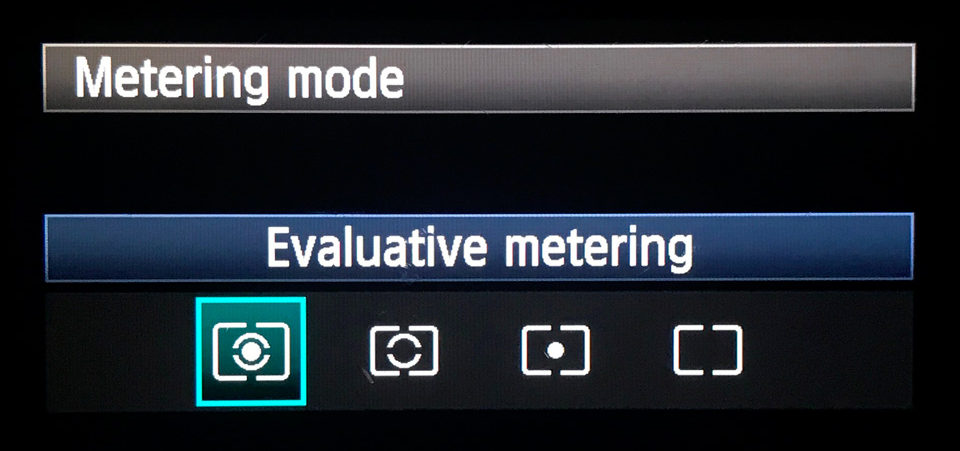
My Canon offers four metering modes. Most cameras include a variation of these four metering modes but truthfully, I really only use one. Let’s review!
Evaluative/Matrix: Evaluative or Matrix metering evaluates the entire scene and helps produce a balanced exposure. This is the camera default and quite honestly, I rarely change it.
Partial Metering: This mode only evaluates the light falling in the center 6.5% of your frame.
Spot Metering: Similar to partial, this mode only evaluates the light falling in the center 2.8% of the frame.
Center-Weighted Average: This mode evaluates the entire scene much like evaluative/matrix but puts extra emphasis on the center.
6 ) Image Stabilization, SteadyShot, Vibration Reduction – Best Camera Settings
Image Stabilization is a handy feature that helps reduce camera shake when shooting hand-held. You can find this feature on some cameras or the actual lens. Image Stabilization is particularly useful when shooting in low light conditions.
If your camera or lens has Image Stabilization, I highly suggest using it. It can make a world of difference. If you are using a tripod, however, it’s recommended that you turn Image Stabilization Off.
7 ) Back Button Focus – Best Camera Settings
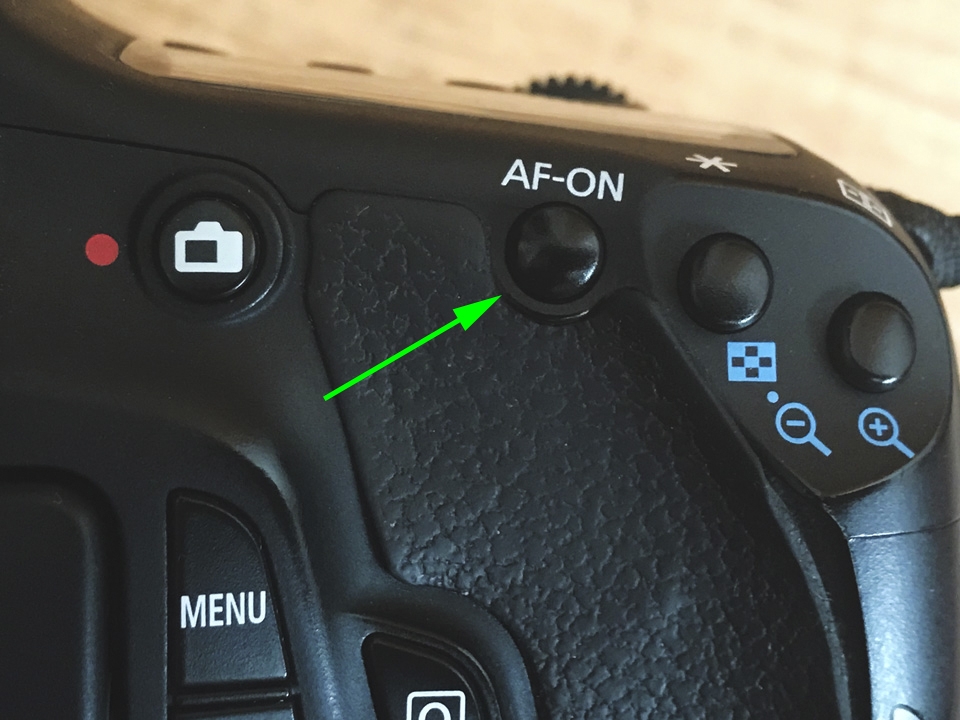
Back Button Focus is a custom control setting where you focus using a button on the back of your camera instead of the shutter release.
Using a dedicated button for focusing and the shutter release solely for taking the shot, is simply more efficient. It allows you to swap between continuous and single autofocus, lock focus by simply removing your finger from the button, prevent focus errors, and easily swap between auto and manual focus.
I’ll be honest. When I was first introduced to back button focus, I was hesitant. I was a new photographer. It felt weird and I was comfortable pressing the shutter button down halfway to focus.
Still, I trusted this photographer. They told me It’s worth learning and so I made a choice. I would try it for one month regardless of how it felt.
It didn’t take a month. Within about a week I was already getting comfortable and starting to see it’s merits. Now years later, I fully understand the merits. With back button focus, you’re going to nail that shot and focus more often than not!
Creativelive has a great article on back button focus that will actually help you set up back button focus on your Canon, Nikon, or Sony.
Warning! You are now Entering the Exposure Triangle
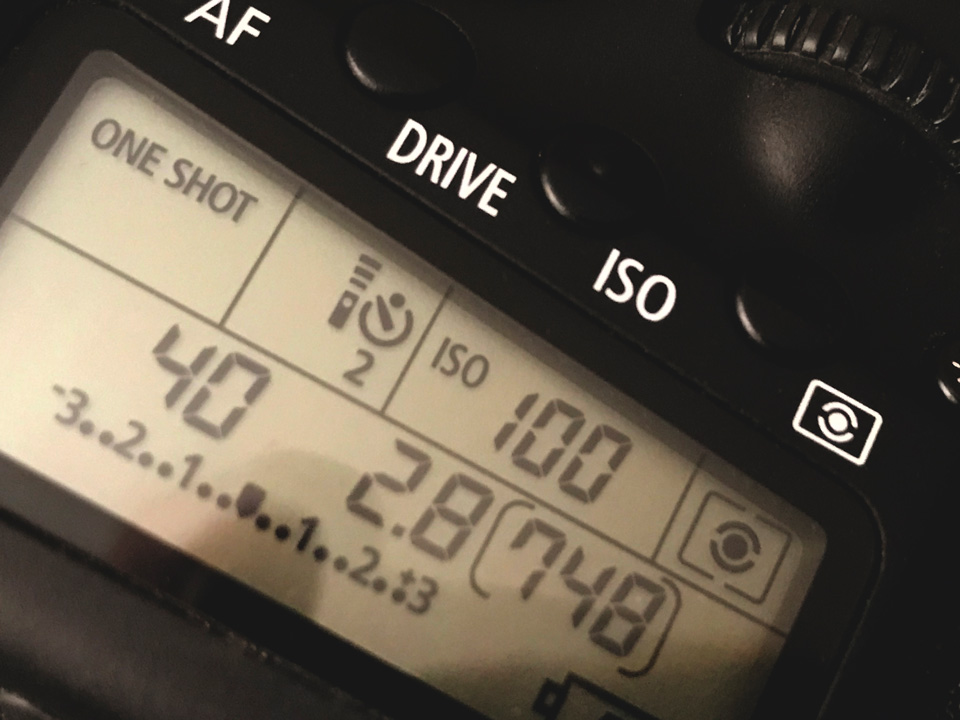
When talking about the best camera settings for Aperture, Shutter Speed or ISO were talking about exposure and more specifically, the exposure triangle.
There is no best setting but instead, only the best settings to achieve the image you are trying to create. Therefore, you need to understand how each of these settings will affect the image your creating.
Remember, Photography is all about light and that is all, end of story. Aperture, Shutter Speed, and ISO all control how much or how little light we use in the creation of an image. Each introduces light in a different way however and in doing so, adds a unique creative facet to your image.
8 ) Lens Aperture – Best Camera Settings
Aperture and Light: Aperture is the hole or opening of your lens that allows light to pass, enter the camera body, and hit the sensor. One way to think about aperture is to think about your eyes pupil.
If too much light is available, your pupil gets smaller to minimize the abundance of light. If there is not enough light your pupil gets larger to maximize the use of the available light.
This same concept is relevant to your camera’s lens. A large aperture, small f/number like f/1.8 allows a lot of light to pass into the camera and hit the sensor. A narrow aperture, high f/number like f/11 allows less light to pass into the camera and hit the sensor.
Aperture and Depth of Field: Using a narrow or wide aperture to control light also has a direct correlation with depth of field.
Large Apertures, small f/numbers like f/1.8 have a very shallow depth of field. Outdoor portrait photographers love to utilize a shallow DOF because it helps isolate their subject from the background. It also creates that beautiful dreamy bokeh that everybody loves.
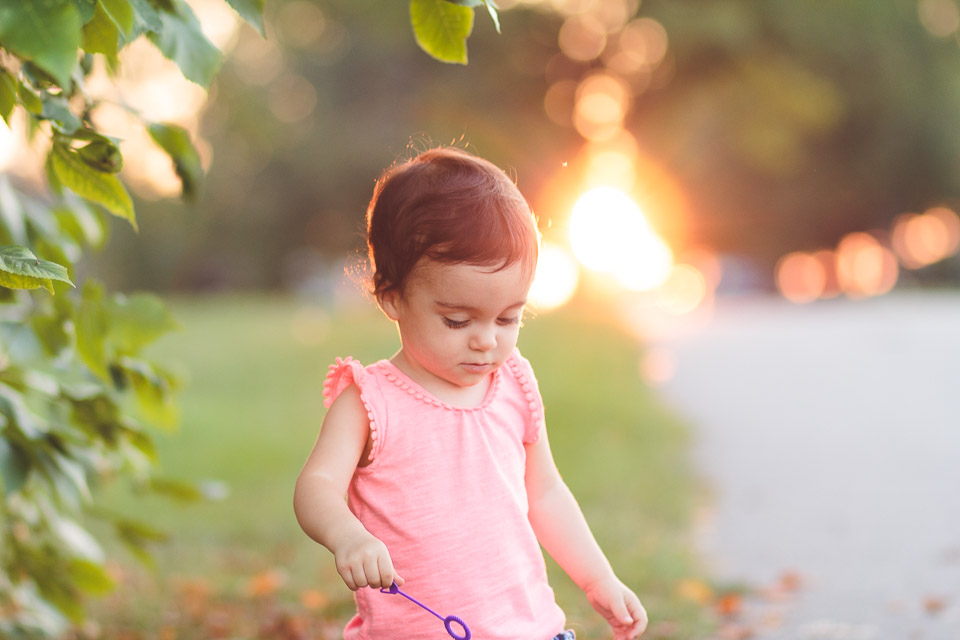
Narrow Apertures, high f/number like f/11 increases depth of field. Typically, with landscape photography, I like to shoot around f/11. In portrait photography, if the subject is important but so is the background than I also use a higher f/number.
For example, if your subject were standing in front of a landmark it would not make sense to shoot at f/1.8 and blur out the background, as context is important. Take the photo below, here I use f/11 because both, the hikers and the landscape is important to my image.
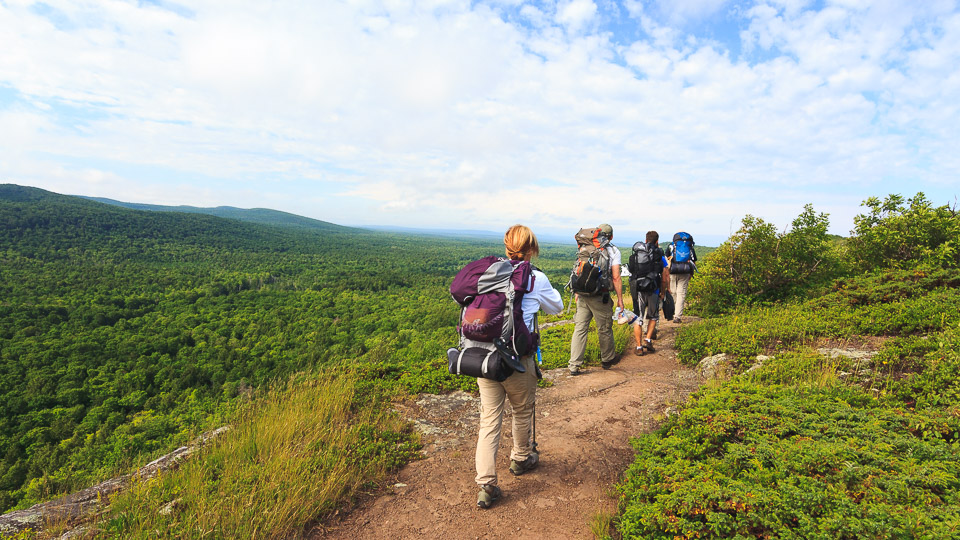
For an in-depth discussion on Aperture and how camera distance to subject further impacts DOF please see this post, Camera Settings, and the Exposure Triangle.
Also, for more on Aperture check out this post from our friend Veronica at Veronicajune Photography, Photography Facts – The 5 Things You Need-to-Know about Aperture.
9 ) Shutter Speed – Best Camera Settings
Shutter Speed and Light: Our second stop on the exposure triangle is Shutter Speed. Shutter speed controls light by deciding how long the shutter stays open when recording a photo. Therefore, it’s also the time it takes to capture a photo.
You can think of your camera’s shutter as a set of window blinds. When the shutter opens, it allows light to pass and hit the camera sensor. When the shutter closes, it shields the sensor from light and the image is complete.
Typically, we measure shutter speed in fractions of a second but the shutter can actually stay open much longer. When doing long exposures for example you can hit 30 seconds in manual mode. Of course, you will need a tripod.
It’s easy to see how shutter speed impacts the available light. If it’s midday and the sun is in full force leaving the shutter open for 1/4000sec might be sufficient. Of course, this depends on your other camera settings.
If however, you are indoors and the lighting is not so great you might be looking at something much longer like 1/60sec or even 1/4sec to produce a proper exposure.
Shutter Speed and Blur: The problem with leaving the shutter open for extended periods is camera shake. The camera must remain completely still for as long as the shutter remains open. The same is true of your subject. If your subject is moving than this will result in motion blur.
Motion blur is sometimes the desired effect, however. Take the photo below. In order to achieve that feeling of wispy flowing water, you need to use a tripod and long shutter speed.

Conversely, maybe you want to freeze the action. You want no blur. Maybe your subject is running or moving fast. To freeze that action you need to use a fast shutter speed like 1/1000sec. Take the photo below, here I’m using a fast shutter speed to freeze my moving subject.
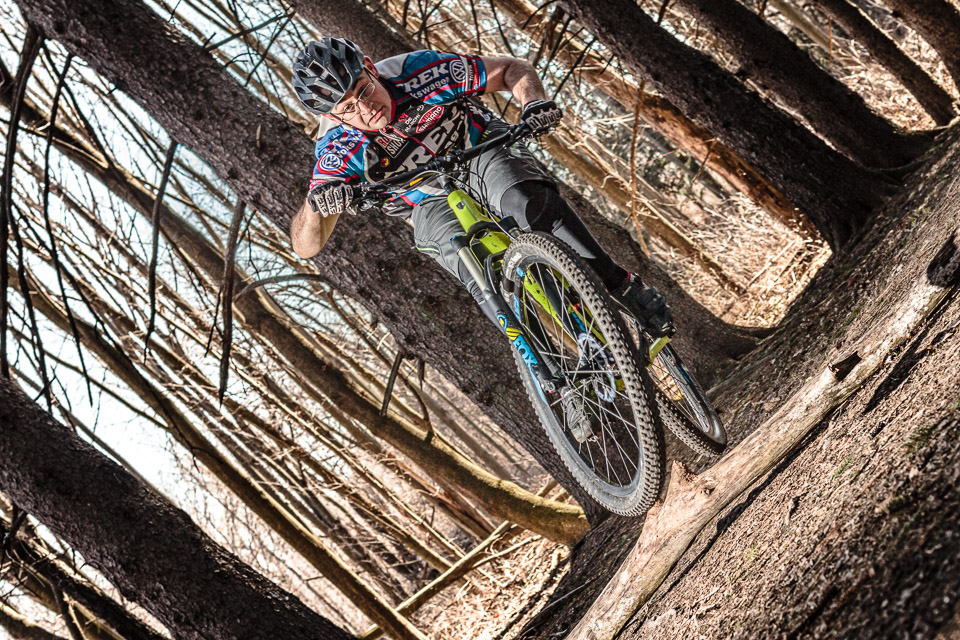
Again, for a more in-depth look at Shutter Speed please see this post, Camera Settings, and the Exposure Triangle.
10 ) ISO – Best Camera Settings
This is the last stop on the exposure triangle. Let’s summarize from the point you press the shutter release button on your camera.
First, the light comes into your lens. The aperture inside your lens controls some of that light by narrowing or widening. The remaining light enters the camera body.
Second, the shutter opens to the remaining light exposing the sensor to light. The shutter stays open for a period of time defined as shutter speed.
Third, the sensor interprets that light and is responsible for creating the image we are trying to capture. Now, this is a very simplified version of events but you get the idea.
ISO and Light: ISO is how sensitive the sensor is to light. Once the light is hitting the sensor how sensitive to that light do we want the sensor to be?
ISO 100 is less sensitive than ISO 2000. So with the exact same light, you will get a much brighter photo at ISO 2000. That sounds great right, need more light, just bump up the ISO. But, there is a slight problem.
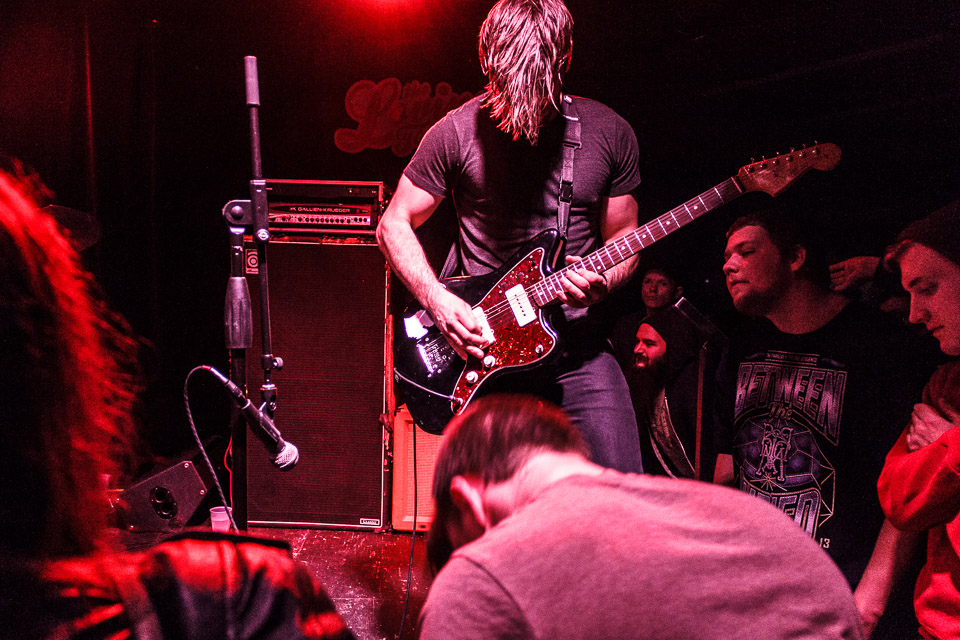
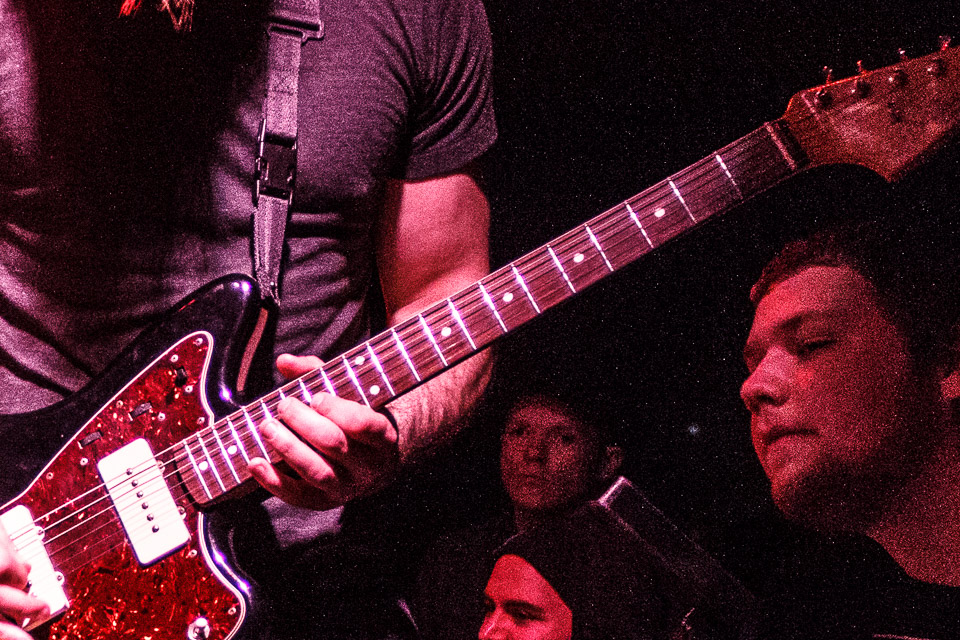
ISO and Noise/Grain: The problem, when you make the sensor more sensitive to light (high ISO #), you also introduce noise or grain. Now sometimes a photo looks OK with noise. Maybe you want some grain/noise. Only you, the artist, know what you are trying to achieve.
Sometimes it doesn’t matter. Considering the available light, if you don’t bump up that ISO you aren’t getting the shot!
Share these Pins to Pinterest


Fairy in depth article. I going to need to read it all in sessions lol. Nice to see a decent treatment on jpg vs raw.
Thanks for stopping by and reading Loyd! I know, I can sometimes go on and on about stuff. It can be a chore to stop myself sometimes! lol Hopefully, it’s not just rambling and someone finds it helpful :)
[…] I can tell, you want more info on camera settings, check out my in-depth post, Photography Tips – Camera Settings Explained | See Imagery […]
Great analogy with the window blinds to explain shutter speed! It’s amazing how adjusting it can dramatically change the exposure, especially in different lighting conditions. Very insightful, thanks for sharing
Thanks for dropping by and reading, appreciate the comment.